Setting up Large-scale mode in Collaborate for up to 500 participants - Staff Guide
Collaborate can be used as a virtual classroom and can host up 250 participants in standard mode, and up to 500 participants in large-scale mode. Large-scale mode disables certain participant functionality when compared to standard mode, however this is to avoid the common issues experienced with trying to manage larger online groups. Further detail on what is disabled is provided below.
If you want to host up to 500 participants online you will need to create a Session in Collaborate.
If you are familiar with Collaborate you may be aware of the Module Room (also known as the Course Room) - this cannot be used in large-scale mode. If you do not need large-scale mode, see Setting up Collaborate for Online teaching to learn how to set up the Module Room.
If you want to host more than 500 participants online, please consider one of the other virtual classrooms. Microsoft Teams can host up to 1,000 attendees, whilst Zoom licences can be requested via the IT Service Desk for webinars for up to 500 and large meeting room licences for up to 1000 attendees. See the Request catalogue for Zoom licences on the IT website for further information, you'll need to login to see the page.
In this guide
Create a Session in large-scale mode
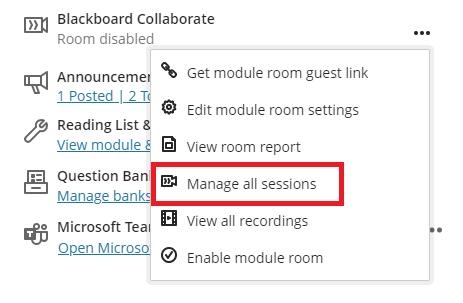
1. From the Details & Actions area of your module, click the three dots menu next to the Blackboard Collaborate heading.

2. Select Manage all sessions.
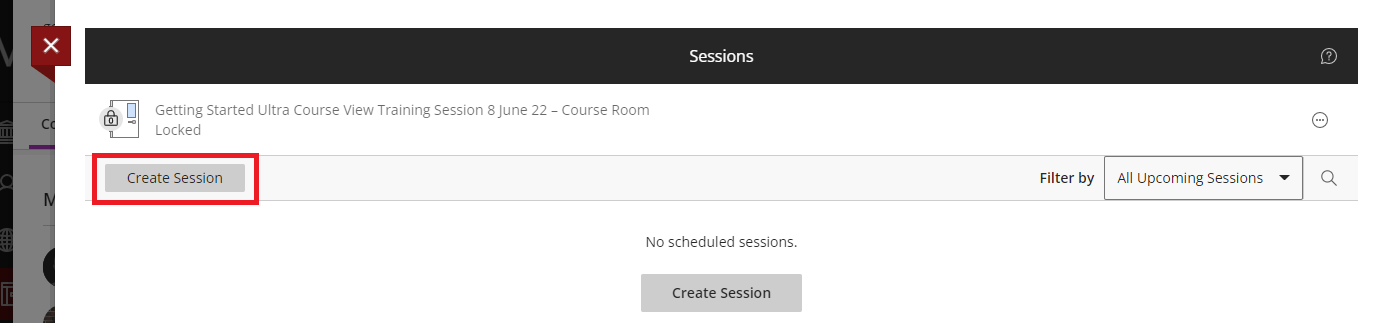
3. This will load the Sessions page. You will now create a session, select Create Session.
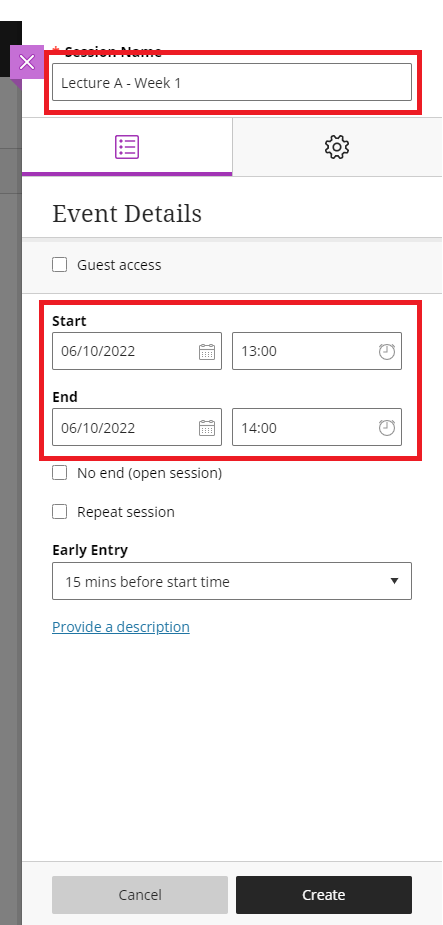
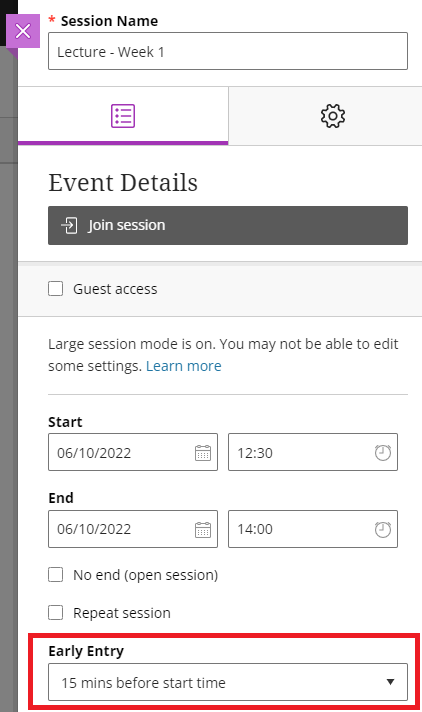
4. This will open the Event details panel. Enter:
- a Session Name - e.g. Lecture Week 1
- start date and time
- end date and time
3. Click the Cog tab to reveal the Session settings. Scroll down the page, and under the Large Scale session heading, check the Allow 250+ attendees to join option.
This will automatically disable the following Participant permissions:
- Share audio
- Share video
- Post chat messages
- Draw on whiteboard and files
This guide does not cover Session settings in any detail, teaching staff should familiarise themselves with Session settings to ensure they are set according to the needs of their teaching activity (e.g. anonymised chat, guest access etc). See, Large scale-mode Session Settings on Class Collaborate's website for guidance on settings.
5. Select Create to complete the creation process.
Your large-scale mode Session should now be created.
Go back to the top of this page
Accessing a large-scale mode session
You and your students access a large-scale mode Session in the same way.
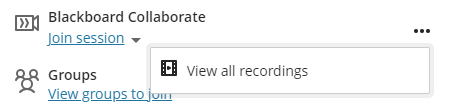
1. From the Details & Actions area of your module, under the Blackboard Collaborate heading, a Join Session option will be visible, which when clicked will allow you (and your students) to select the Session they want to join from the drop-down menu that is displayed. Selecting a session, will open Collaborate in a new browser tab.

The Join Session option is only visible when your Session is due to start. How soon ahead of the Session starting, depends on the Early Entry setting used to set up the Session. For example, if you've allowed Early Entry 15 minutes before the Session, the Join Session option will be visible 15 minutes before your Session starts.
Students will be assigned a Participant role when they enter, staff will automatically have a Moderator role.
Go back to the top of this page
Leaving a large-scale mode Session
To leave a Session, click the hamburger menu (it's in the top left) and choose Leave Session.

Go back to the top of this page
Jointly-taught online teaching using Collaborate
If you intend using Collaborate for jointly-taught teaching please also see the next section (Using Collaborate for jointly-taught teaching).
Using Collaborate for jointly-taught teaching
Some modules may share teaching with other modules, this is commonly known as jointly-taught teaching.
1. If a module has jointly-taught teaching there will be a requirement to choose one of the modules to host the teaching – this should be the module that the staff member teaching has access to, through Banner (SIAASGN - Faculty Assignment).
2. For jointly-taught online teaching using Collaborate, you will need to allow Guest access.
Guest access should only be used for jointly taught online teaching due to security implications. Please avoid giving guest access to any online teaching that is not jointly taught across a number of modules. Guest access can be enabled from the Settings panel.
3. Open the Settings panel by clicking the three dots menu next to Blackboard Collaborate and selecting Manage all sessions.
4. This will open the Sessions page, any Sessions you have created will be listed.
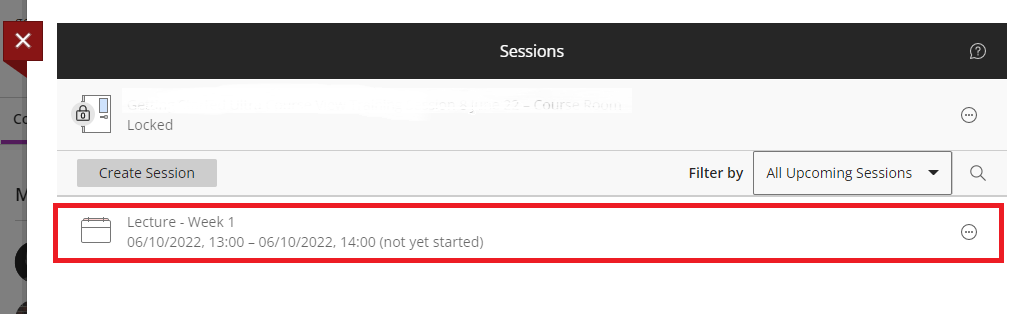
5. Select the small three dots menu to the right of the session you want to allow Guest access for and choose Edit settings from the drop-down menu that is displayed.
6. This will open the Event Details panel. Check the Guest access option. Guests will be automatically assigned a participant role.
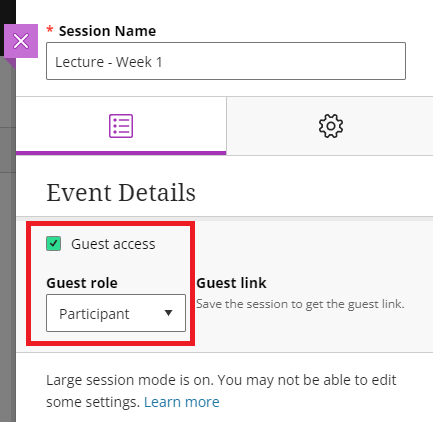
7. Click Save to generate the guest link.
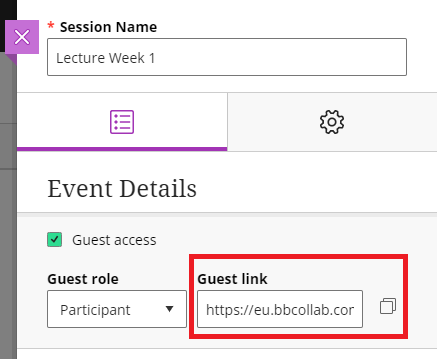
This guest link should then be shared via email with students who are not enrolled on the host module (so students who are enrolled on the other jointly taught modules), to allow them to join at the time shown on their timetable. We would recommend the link be circulated to students in good time. Staff teaching the activity should also be notified which module has been designated the host so they know where to navigate to, to deliver their teaching.
N.B. A guest link is a public link that can be used and shared by anyone who has it. Do not post the link on a public domain e.g. twitter. You can disable and enable Guest access as required by checking/unchecking the Guest access box in the settings panel.
Localised guidance to provide to your students
Think about how students will know when they should use Collaborate to access online teaching. If you have multiple Sessions, do they know the name of the Session they need to join?
Are you expecting your students to check their University teaching timetables and join at the time and day shown? Don't forget to provide them clear guidance on how you expect them to access any online teaching you are offering for your module.
General considerations when using Collaborate
- Clicking the three dots menu to the left of the Blackboard Collaborate heading in the Details & Actions area gives users access to recordings made in Collaborate. It is not possible to restrict who has access to a recording, anyone enrolled on the module can access all of the recordings. Clicking View all recordings, opens a page which list of the Recordings available.
- If you wish to add Collaborate recordings to MediaSite (for captioning or retention purposes), they will need to be uploaded manually.
- When recording teaching in a Module Room/Session if students do not wish to be identified in a recording you can hide their names. This must be set prior to starting a recording, it isn't possible to do this once recording has started.
- You cannot pause a recording, but you can create multiple recordings by stopping the recording and starting a new one without having to leave the Module Room/Session.
- Session recordings will appear as soon as they have been processed. Processing begins when the user stops recording – it is not linked to the session end time.
- Session recordings are given numerical names (recording 1, 2 and so on). We would recommend academic staff take time to rename their recordings to something more descriptive to help students identify recordings more easily (e.g. Week 1 Lecture, Tutor A’s Week 6 Lab).
- Please avoid using guest links where possible as there are security implications, though it is understood that jointly taught activities will need this enabled as explained in the Organising Jointly Taught Online Teaching section.
- You need to inform participants that a session is going to be recorded and shared. This must be communicated before the session (e.g. email) to allow participants to advise if they do not want to be recorded, or do not want to be identified in the recording. Further information is available in the Audio Visual Policy (PDF).