Present synchronous content to an in-room audience (on campus) - Staff Guide
If you have not signed up for a Top Hat account or not created your first course, you can find instructions on the Create a Top Hat Staff Account and your First Course guide.
Top Hat offers the ability to present synchronous content, with interactive elements, to an audience in-person. Students can participate with embedded questions and discussions as part of the presentation.
Students can participate on the Top Hat mobile app or a browser. Students will have needed to create a Top Hat student account.
In this guide
- Uploading slides
- Moving questions or discussions between slides
- Navigating a presentation
- Presenting a question
- Presenting a discussion
Uploading slides
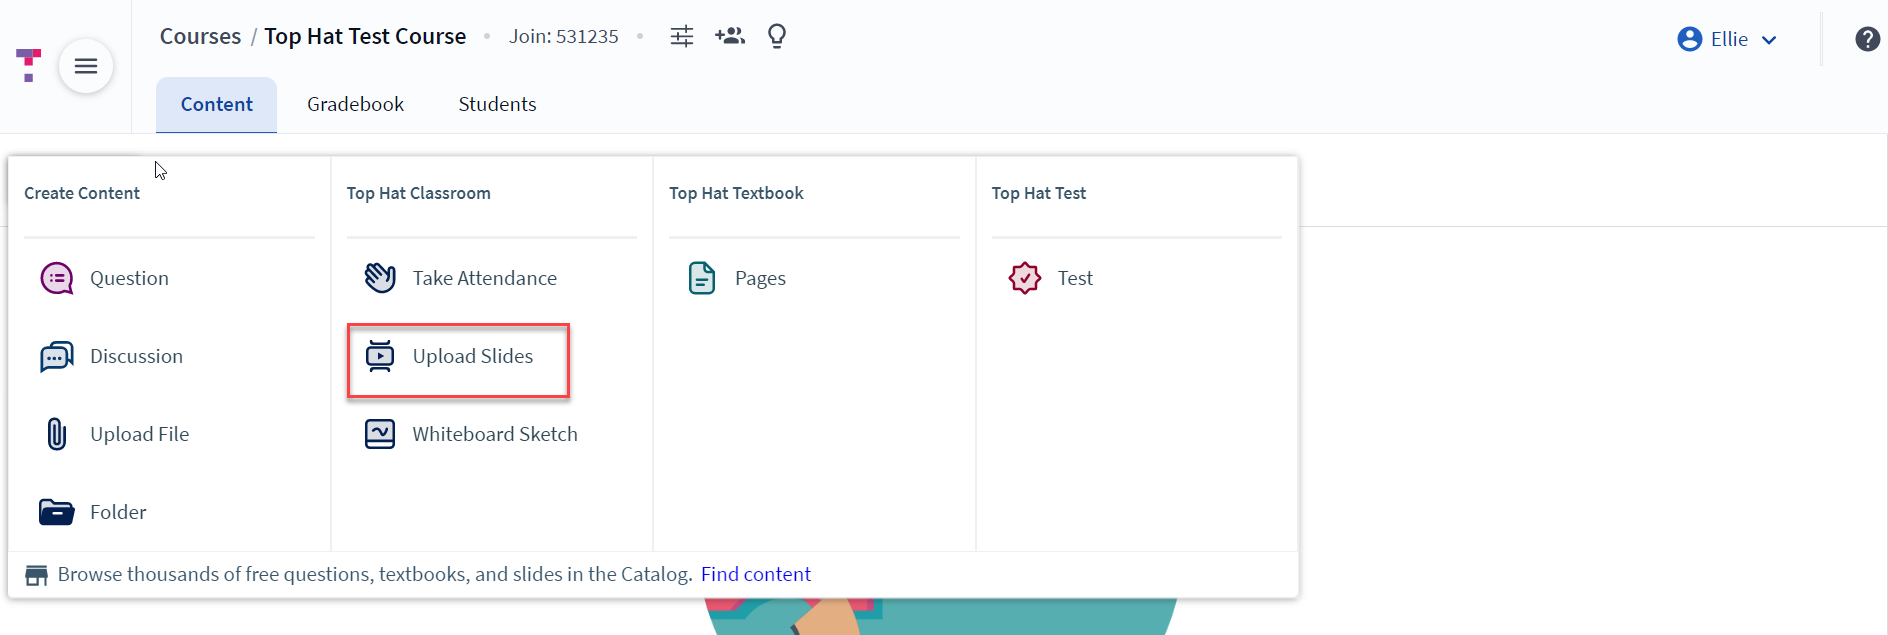
1. Make sure you have selected the Content tab in the course.

2. Click Create.

3. Select Upload Slides from the menu.
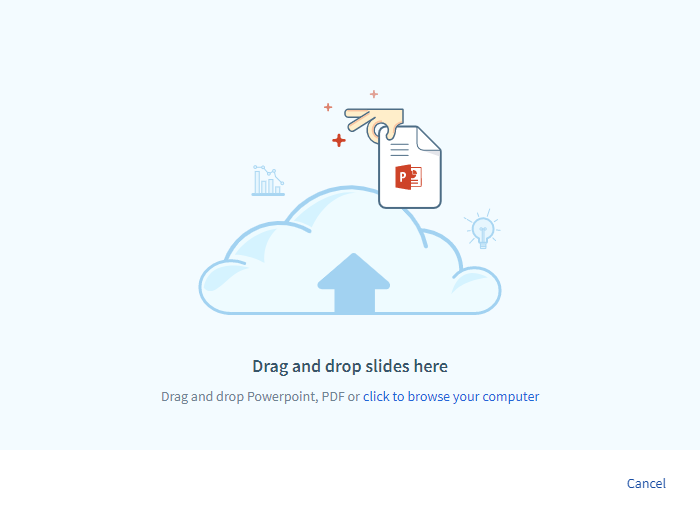
4. You can either drag and drop or browse your computer to upload slides. Once you have selected a file, it starts uploading.
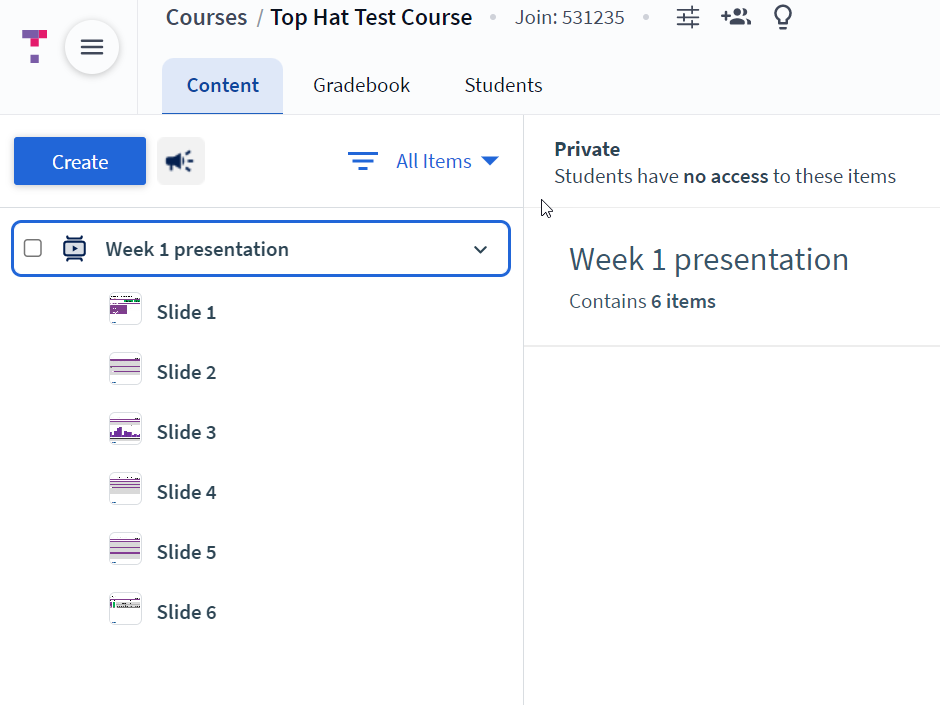
5. When your slides finish uploading, they appear on the content tree on the left side of the page. Each slide is numbered and appears under the title of the file.
Moving questions or discussions between slides
If you do not have questions or discussions in your Top Hat course, you can find instructions on the Top Hat Questions guide and Top Hat Discussions guide.
1. When you create a question or discussion, you can click on a folder to highlight it so that questions and discussions that are created appear in that folder.
2. Questions and discussions that are created appear at the bottom of the contents in a highlighted folder.
3. Drag and drop questions and discussions between slides or other items on the content tree so that they appear at that point in the presentation.
Navigating a presentation
1. When you are ready to present, select a presentation and click Present Slides. You can also select a slide, question or discussion and click the present icon to start from that point in the presentation.
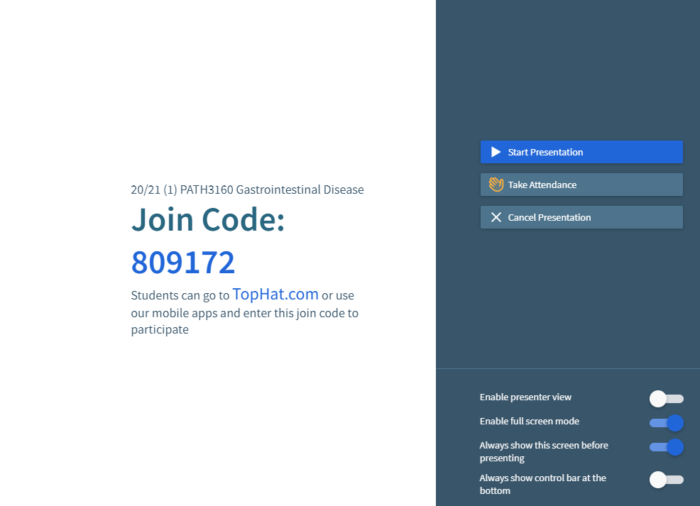
2. To start a presentation, click Start Presentation. Before starting a presentation, you can toggle on and off a four settings that can effect how you present your slides:
- Toggling Enable presenter view provides you with a second screen that only you can see as you present. You can find more about this view on the Top Hat Presenting Slides guide.
- Toggling Enable full screen mode opens your slides in full screen instead of containing them within the browser window.
- Toggling Always show this screen before presenting allows you to see this screen, join code and settings before you start the presentation.
- Toggling Always show control bar at the bottom allows you to always see control bar to navigate and control the presentation.
3. To navigate a presentation, use the arrows keys on your keyboard or click the arrows from the control bar at the bottom of the screen. The up arrow from the control bar shows thumbnails of your slides.
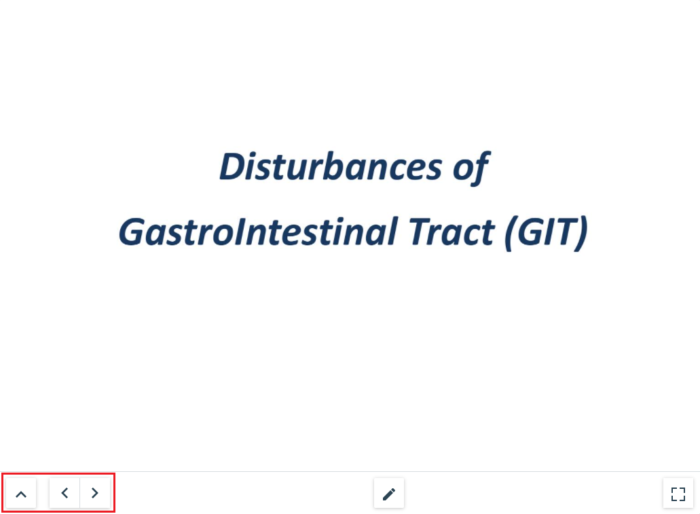
4. To end a presentation, click on the up arrow from the control bar and select End Presentation. Please note that clicking the Escape button from your keyboard does not fully end a presentation.

Presenting a question
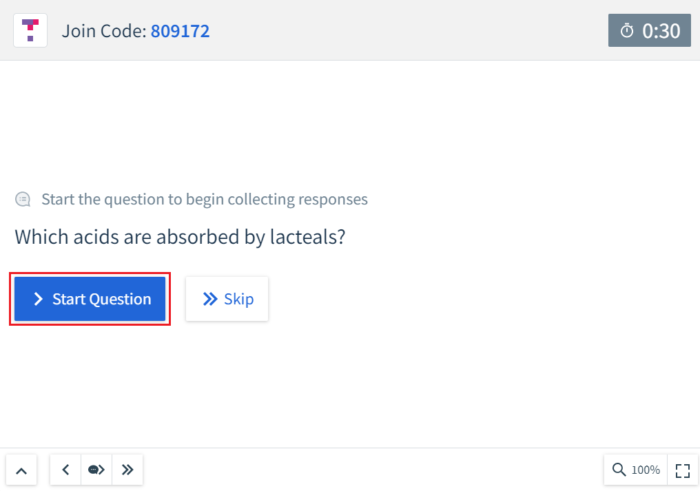
1. At a slide with an embedded question, click on Start Question to allow students to start posting responses.
2. If you added a timer when creating the question, it shows the remaining time at the top right corner of the screen.
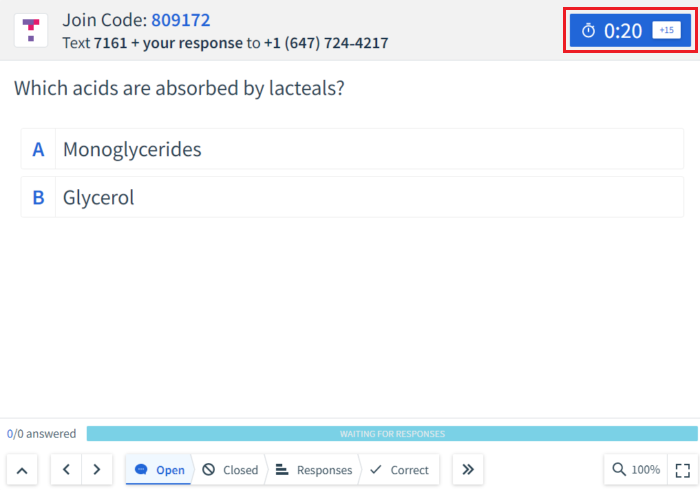
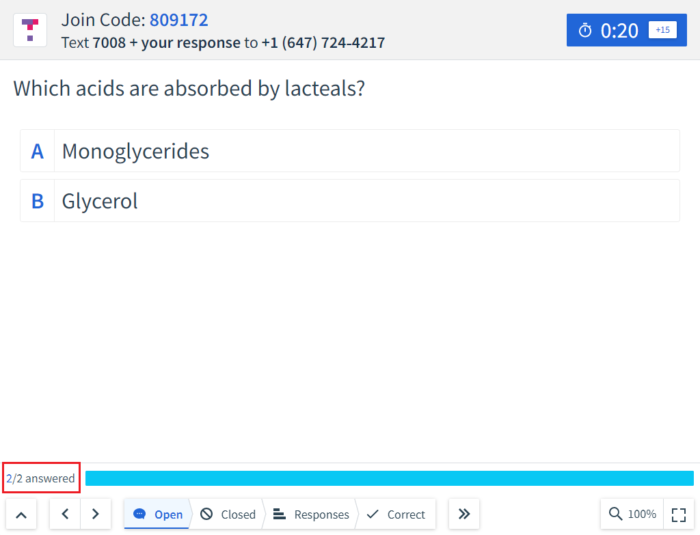
3. The number of student responses and total number of students appear at the bottom left corner of the screen.
4. When presenting a question, you can click on four tabs at the bottom of the screen to finish presenting it:
- By default presenting a question starts from the Open tab. It allows students to post responses. Clicking the Open button after having closed the question allows students to post responses again.
- Clicking the Closed tab stops students from posting responses. If you added a timer when creating the question, the screen automatically switches to the Closed tab once the timer is completed.
- Clicking the Responses tab shows the number of responses.
- Clicking the Correct tab shows the correct response, if one was selected when creating the question.
Presenting a discussion
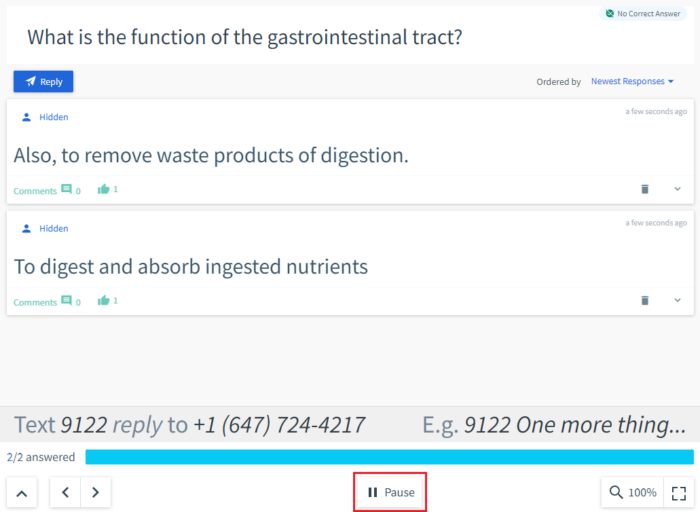
1. At a slide with an embedded discussion, students are allowed to immediately start posting responses.
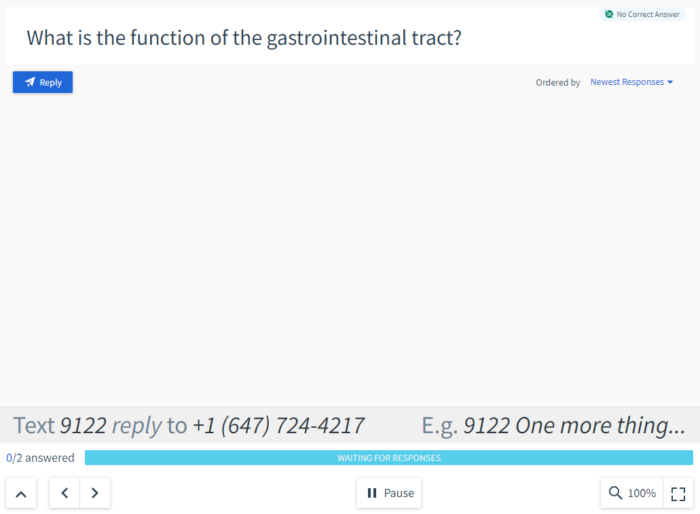
2. Student responses appear on the screen, and the number of student responses and total number of students appear at the bottom left corner of the screen.
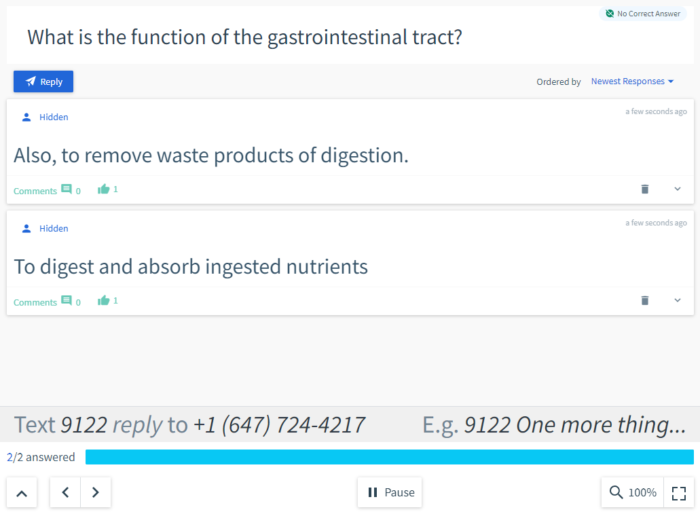
3. Clicking the Pause button stops students from posting responses.