Creating a Personal Blog in CampusPress
When you first login, you will see the CampusPress main dashboard. From here, click on the Add New button next to My Sites at the top of the page.

You will now be prompted to fill in a number of fields to create your own blog.
- Site name – this is the name that will appear in the URL, e.g. campuspress.leeds.ac.uk/testblog. This cannot be changed after the site has been created, so make sure this is something that you want to keep. You can only use lower case letters and numbers in the site name.
- Site title – give your blog a clear title, such as Firstname Lastname Blog.
- Site language – can be left as default (UK English)
- Privacy – it is recommended that you select 'only registered users of this site’ for personal, private use. Our guide on Privacy options explains each of these in more detail, as well as how to change the privacy settings after you've created your blog.
Click Create site.
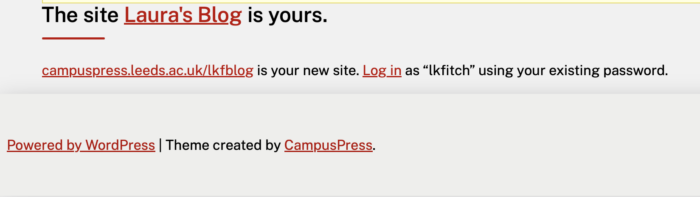
A link to your new blog will now appear, which will have the title that you chose in the previous steps. Click on the link to access the blog, which will have a standard initial post already created. You can delete this later.

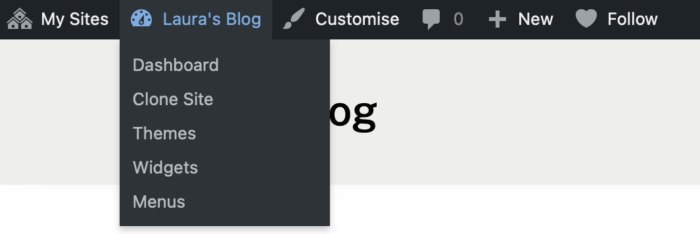
Click My Sites in the top left to return to the main dashboard at any time, or to access the dashboard for this blog by hovering over the blog title.
There isn't a limit as to how many blogs each user can create, but be mindful to keep these to a minimum so that they can be easily maintained.