Creating a blog that is connected to the class blog for your module
You may have been asked by your module tutor to create your own blog in CampusPress as part of a teaching activity or assessment. This guide explains how to set this up and ensure that it is connected to the class blog for your module.
Creating your own blog
Start by logging into CampusPress with your university username and password. This will open on the main dashboard which contains links to all of the blogs that you currently have access to.
Your module instructor will have sent an invite link via a Minerva announcement or email. Click on this link which will open a new browser tab prompting you to set up a new site.
In the Site Title field, enter your University username followed by the module code, e.g. abcd1234lubs1234. Enter the same text into the Site URL field. Do not use any capital letters or add spaces. Click Create a Site.

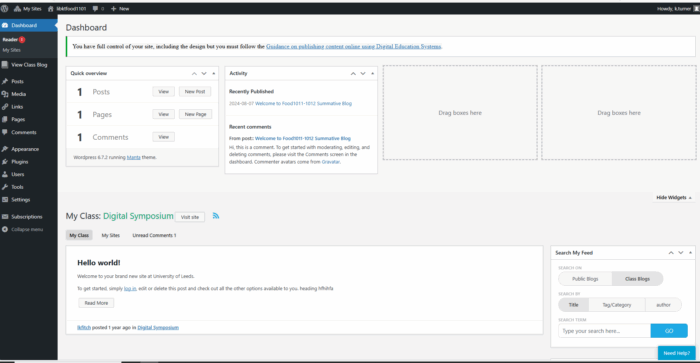
A message will appear on the screen as your new blog is created. Once this process has finished, you'll be redirected to the dashboard.

You can visit your new blog by hovering over the site title in the top menu and clicking on Visit Site.

Your new blog will be automatically connected to the class blog, which will mean that your module instructor has oversight of the content that you begin creating.
