Using Padlet for process mapping
< View Padlet: Guides for Staff home page
< View Padlet: Guides for Students home page
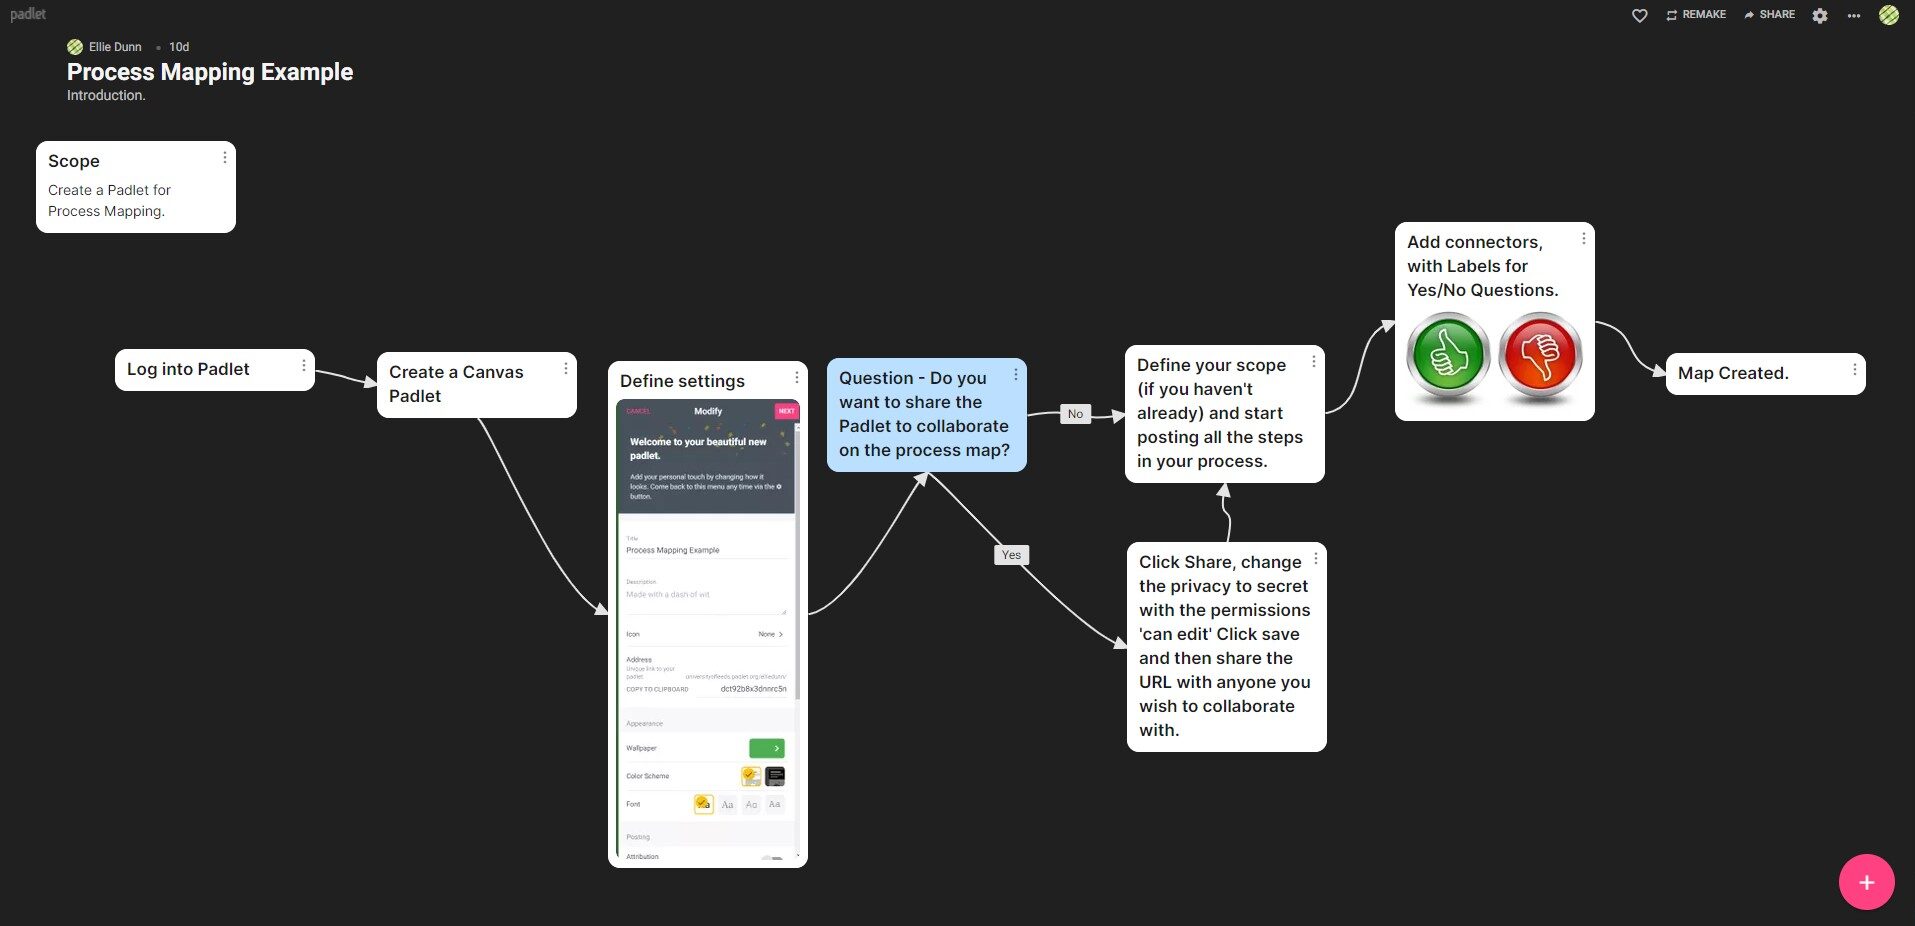
This article contains some tips on setting up a Padlet specifically for process mapping. Whilst other software may offer more functionality this can sometimes be distracting, Padlet is a supported tool that is simple to use, making collaborating easier.
Choose the format for your Padlet
1. Click the Make a Padlet button.

2. Start by selecting the Canvas format for your Padlet, this is the format that will allow you to create connectors between posts.
3. Padlet adds a default title. Replace the title and add a description. We recommend using a dark background because the connector lines are dark gray and can't be changed, making it difficult to navigate with a light background.
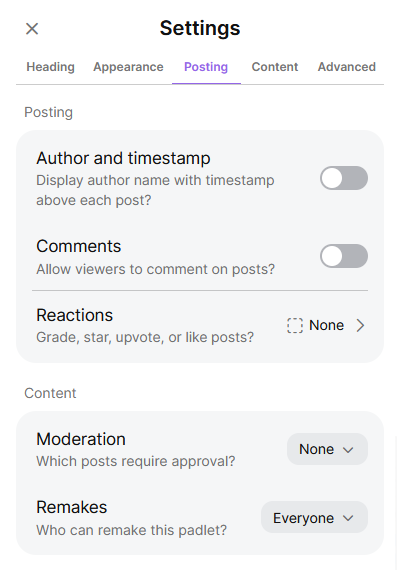
4. Enable or disable posting and content settings such as displaying the author names on posts, allowing post comments and post reactions.
Add posts to map your process
Double-click on the Padlet or click the plus button on the bottom right. Add a title and content. Click Publish to post it on the Padlet.
You can add different files, media and links, also you can edit your post. For more information, see the Add a post guide (this link redirects to the Padlet support website).
Another thing you may find useful for process mapping is resizing a post by holding and dragging the corner of the post.
Post shapes can't be changed but post colours can
Post shapes can't be changed in Padlet so you may want to change the backround colour of specific posts to differentiate them, e.g. decisions could be posts with a blue background.You can change the colour when creating a post and on an existing post. Also, you can help your users by adding a post with a key explaining what each of the colours represents in your Padlet.
To change the colour on an existing post, click on the ellipsis on the top right of the post and select one of the options.
Using connectors between your posts
To add a connector between posts, click on the ellipsis on the top right of a post, select Connect to post and then Connect. You have the option to have a label on the connector, if you would like.
To remove a connector between posts, click on the ellipsis on the top right of a post and select Disconnect from post. Click on the X mark that appears on the connector.
Set your privacy and visitor permissions
To allow others to view and contribute to your Padlet, you need to set the appropriate privacy and visitor permission for this purpose.
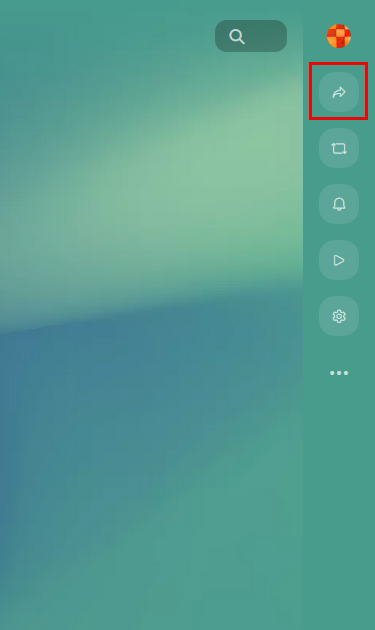
1. When your Padlet is ready to share, click on the Share icon on the right, then click on Change privacy and select Secret. While Secret sounds like an odd choice, this is the option that allows your Padlet link to be shared.

2. After you have selected the privacy option, click on the Can Read dropdown menu and select one of the visitor permissions that best suits your Padlet.
3. Click anywhere on the grey background to close the permissions screen and then click Save.
4. Click on the Share icon again and select Copy link to clipboard. You can share this link, for example, in an email or in a chat message. You can also embed a Padlet in a Microsoft Teams channel. For instructions on doing this, see the Embed a Padlet into a Microsoft Team channel guide.

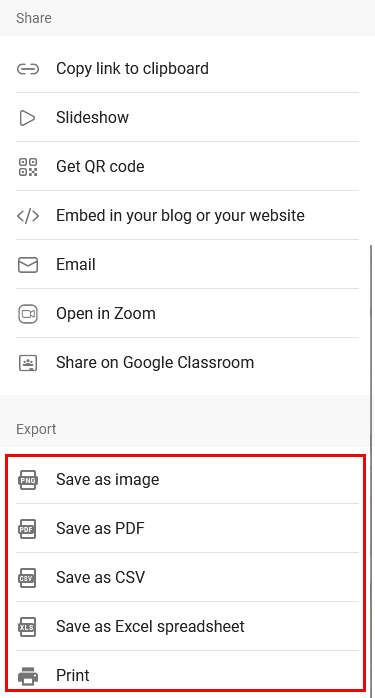
Ways to save your Padlet
1. Click on the Share icon on the right.
2. Select one of the export options. You can save your process map as an image or PDF.
< View Padlet: Guides for Staff home page
< View Padlet: Guides for Students home page