Create Interactive Content with Thinglink
To make content interactive you need to start by choosing your base content, this is the content you will add interactive elements to. For example, your base content might be an image or video.
Login to ThingLink by going to the ThingLink Azure login page.
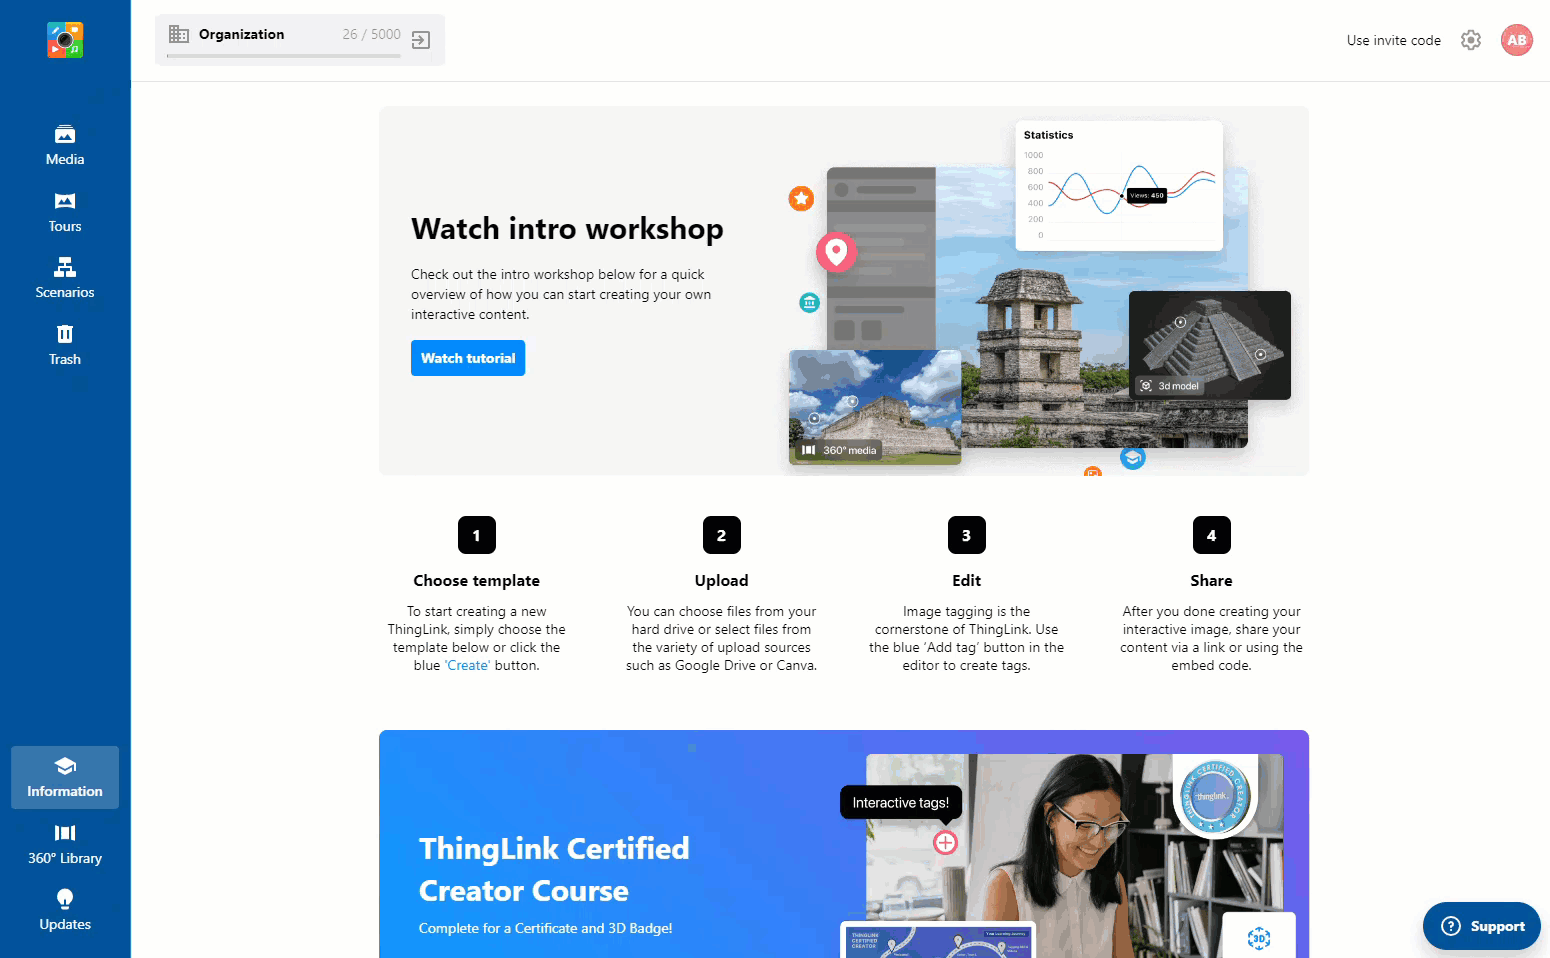
Click the Media option from the side menu and select Create, a number of content options will be displayed on screen.
Select the type of content you want to create, for example you may choose to upload an image or video (in standard or 360° panorama formats), or a 3D model to use as your initial base content.
To help you get started ThingLink will display a Quick tips video on how to create the type of content you have chosen. Click Continue when you are ready to start creating your own content.
The ThingLink interface will help you to build your interactive content through prompts and tool tips as you work. You can add Text and media tags to your base content, allowing users to open additional media types such as text, images, videos, 3D models, and PDF files. These will display on-top of your base content. Sound files can also be embedded as background and in-tag audio.

- Additionally, you can use the Embed tag to embed web content such as YouTube, MS Forms, Google Maps, web pages, and other Thinglink scenes.
- You can use Transit tags to send a user to a new form of base content, creating a narrative or tour (much like adding slides in PowerPoint). A short video demo on how you can using Transit tags is available.
- Other options include a Text label tag and Poll tag.

- You can also add Anchors to your tag, which allows you to point your tag towards something on your base content (useful for when you do not want your tag to cover-up something behind it).

Step-by-step guides
To learn how to create interactive content please review the following guides, this guidance is appropriate for both standard and 360° panorama content:
- How to upload and manage content within ThingLink, (this link will take you to ThingLinks support site)
- Supported file types, formats and specifications, (this link will take you to ThingLinks support site)
- How to use Text and media tags to make your content interactive, (this link will take you to ThingLinks support site)
- How to use anchors with your tags, (this link will take you to ThingLinks support site)