Add Package (Zip) Files - Staff Guide
Packages are a set of files that are linked together and compressed into a single package (.zip). Some software providers (e.g. Articulate) allow users to output package files that are compatible with Minerva. In this guide we will look at how to upload your zipped content and then how to add the zip files to your module/organisation.
If you have a package which includes an assessed element that needs to be linked to the Gradebook, it is recommended that you output and add the file as a SCORM package.
Note
There are two distinct processes you will need to follow; you will need to upload your content and then set permissions for your students so that they can access the package. These have been described below.
Upload your content
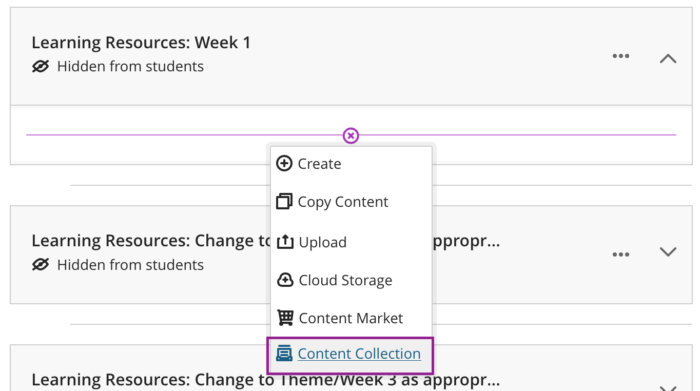
1. Within Module Content navigate to the area where you want to add your content and select the + icon. You may need to hover beneath content items to make the + icon appear. Choose Content Collection from the drop down menu that is displayed.
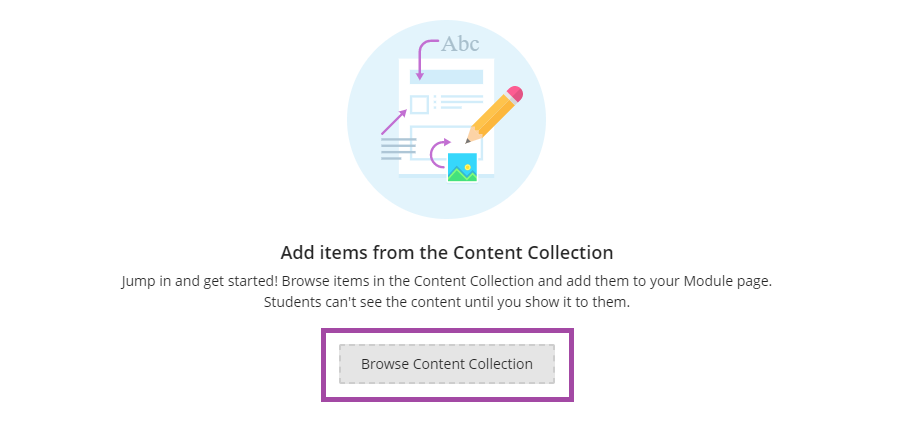
2. Click Browse Content Collection
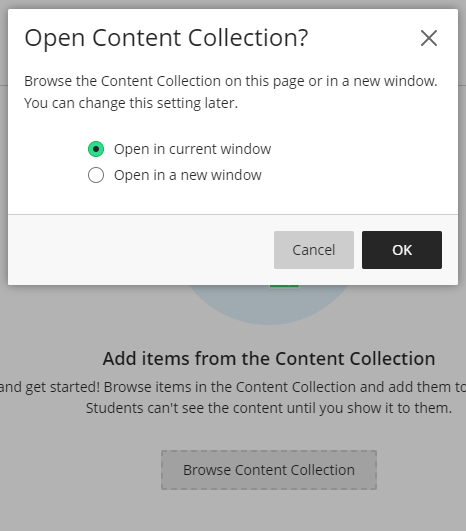
You may be asked how you want to open the Content Collection, choose from either:
- Open in current window
- Open in a new window
and click OK.
The Browse Content Collection page will then be displayed on screen.
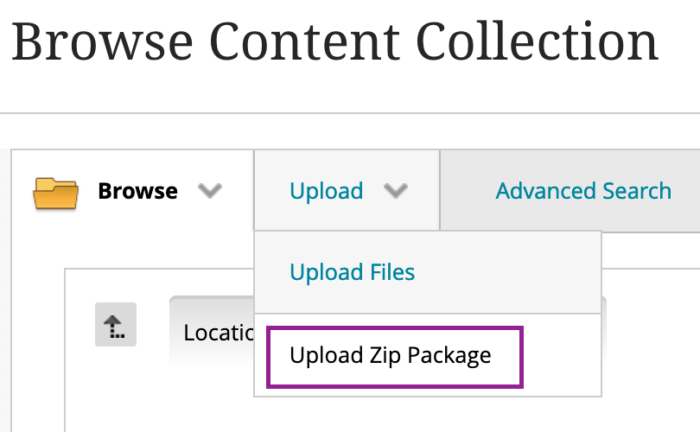
3. Select the Upload tab > Upload Zip Package from the drop-down menu that appears.
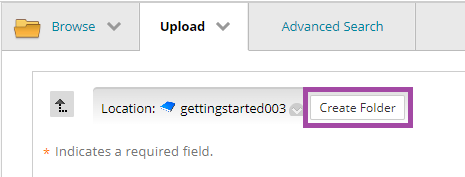
4. You must now put your zip files in their own folder,* create one by clicking Create Folder.
Note
5. Enter a folder name and click Create Folder again.
If another package is uploaded to the same folder you will be prompted to overwrite existing files with the same name i.e. player.html. If you agree to this, it will result in the original files being replaced and the content they link to being changed.
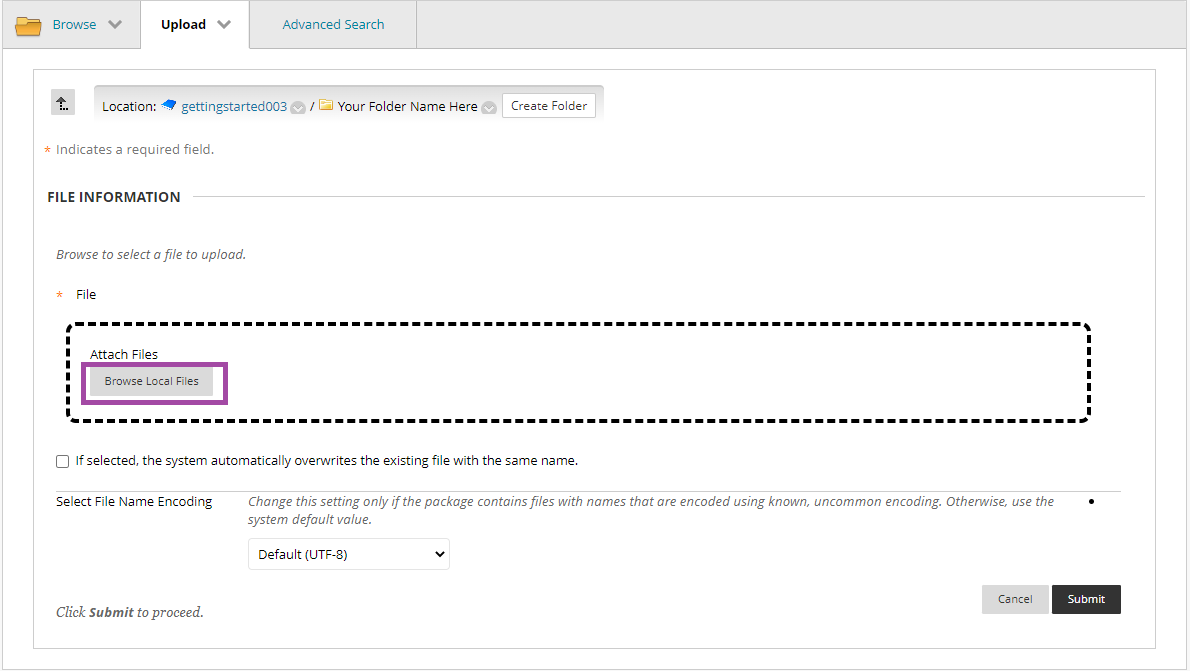
6. Either
- use drag and drop to add your package (by dragging it to the Attach Files area) OR
- click Browse Local Files to select the package stored on your computer. The Open file window will open, find your zip package, select it with your mouse and click Open.
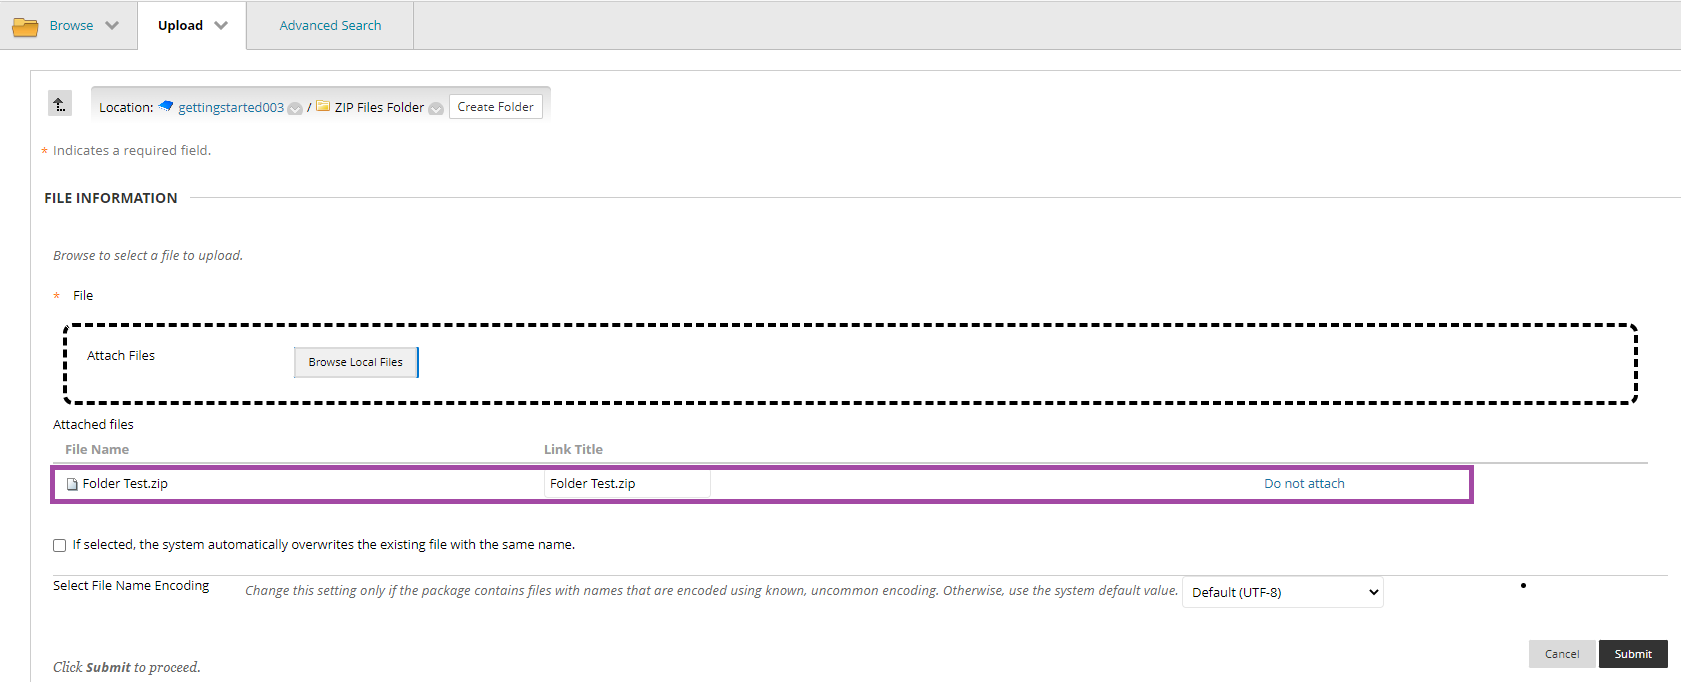
Your file should now be listed under the Attached files section.
8. Click Submit.
Your file will be unpacked automatically, the Browse tab will now be displayed. You'll now select the folder you just created to add it to your module/organisation.
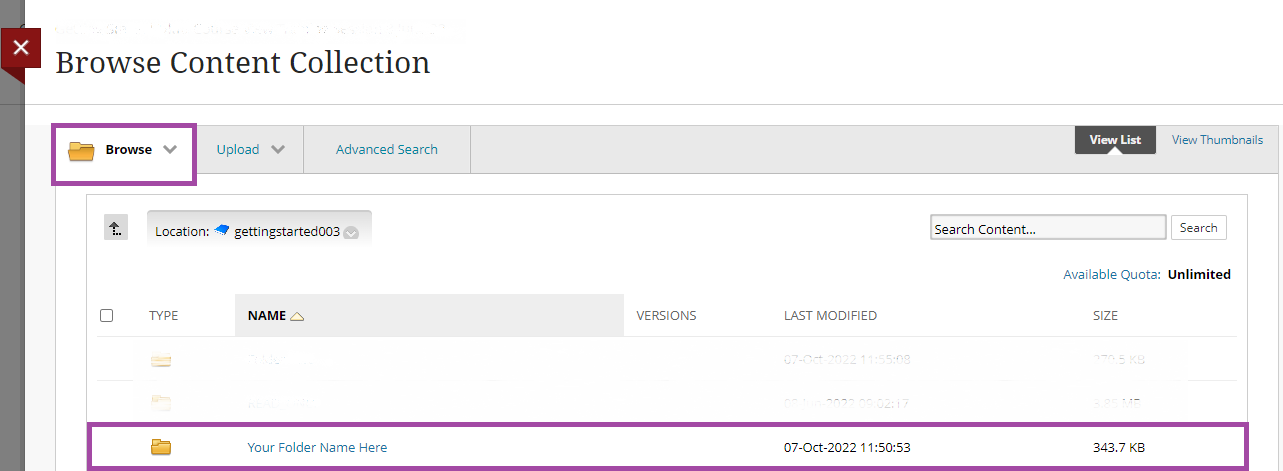
Now to add the packaged files to your module/organisation
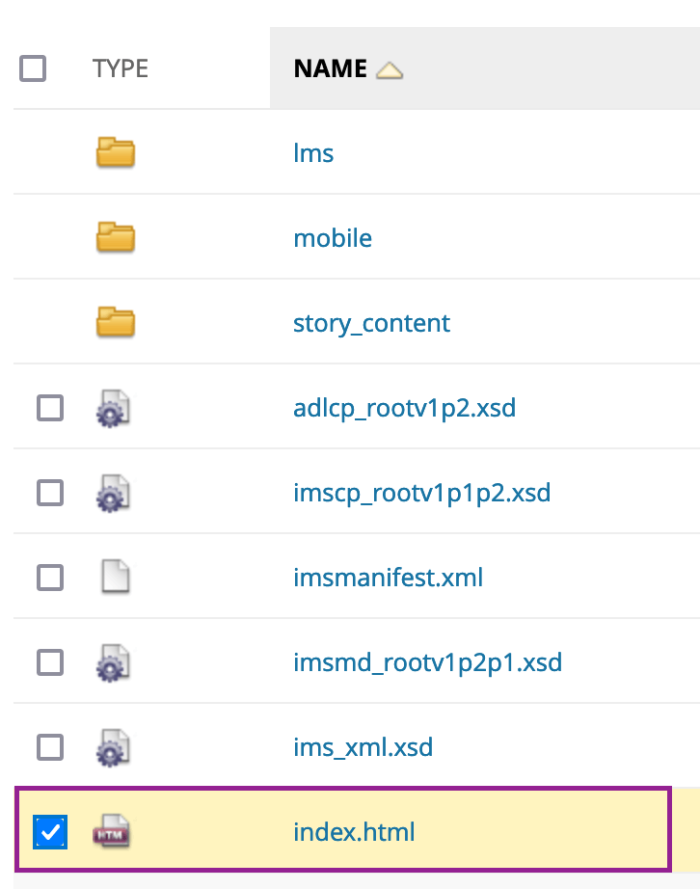
9. In the Browse tab, open the folder you created (in step 4) and select the file to link to, e.g. ‘index.html’, 'story.html' or ‘player.html’ and click Submit. The Browse Content Collection page will close and you should now see the Content Collection page.
10. Select the three dots menu for the item you want to add to your Module Content area and click Edit. You'll find the three dots menu to the right of the size column.
11. Replace the default item name with something descriptive, and add a description if relevant.
12. Click Save, then Save again.
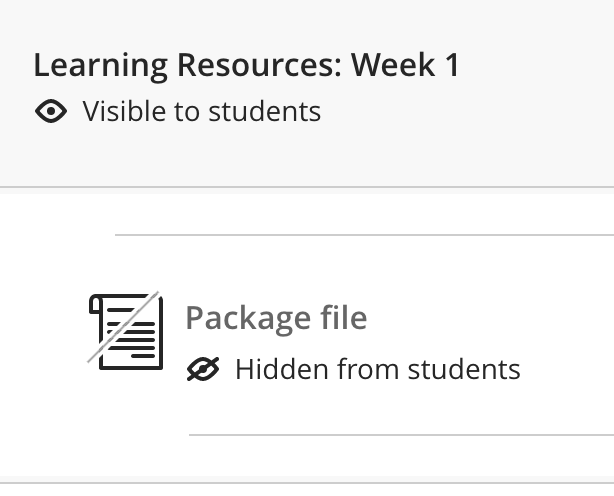
The item will now be listed in your Module Content area. New content is added as hidden from students by default, you can change this by selecting the Hidden from students text, then change it to Visible to students.
We now need to set the permissions on the content so your students can view it (this is different to the Hidden from students/Visible to students settings).
Set permissions for your students
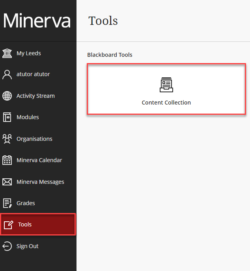
1. Select Tools from the Global Navigation menu and then Content Collection.

2. Click on the name of the module you have uploaded content to. Only modules you are enrolled on will show in this list.
3. Locate the zip folder you just added. Click on the permissions icon next to the zip folder.
![]()
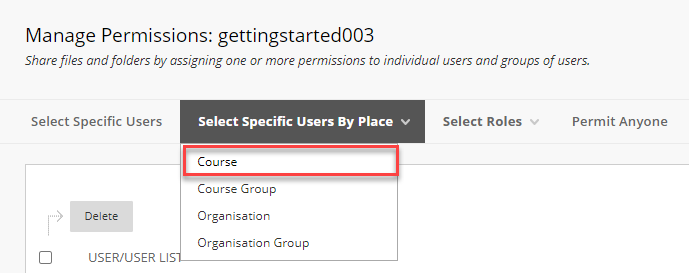
4. Select Specific Users by Place and then Course.
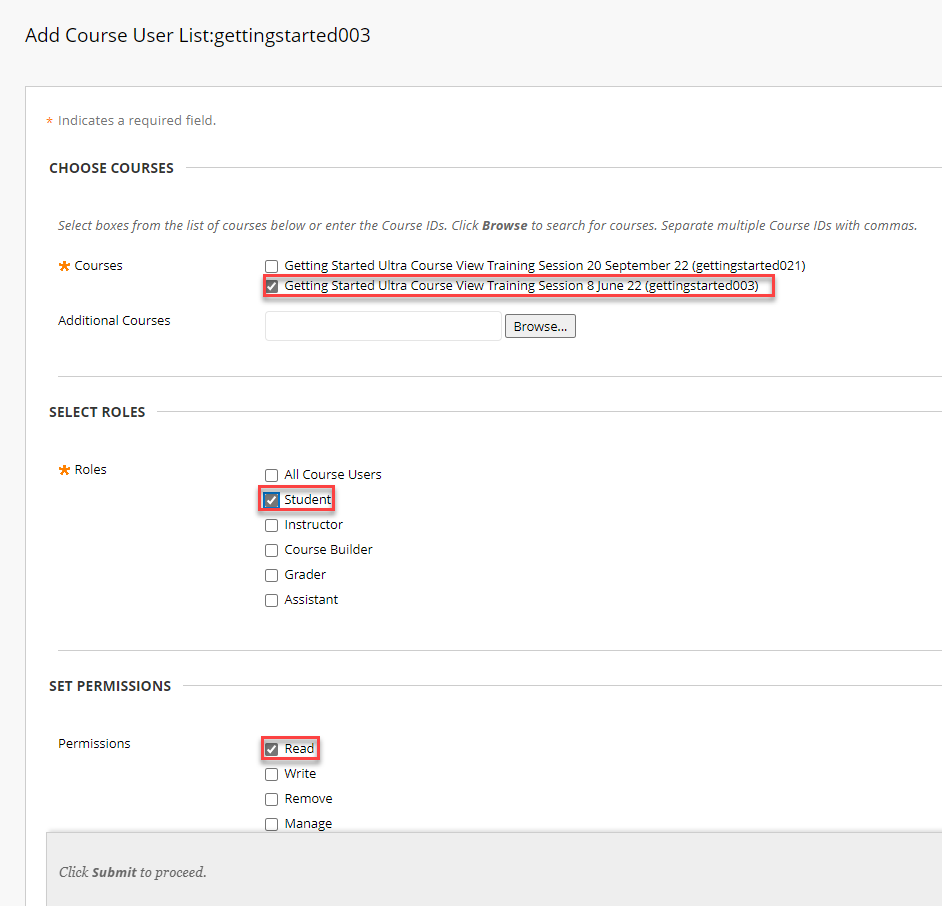
5. Select the following in the Add Course User List page:
- Select the course, you can use the browser find function if you are enrolled on a large number of courses
- Select Student from Select Roles
- Select Read for Set Permissions (this is usually automatically selected)
and then click Submit.
6. This will be confirmed with an updated table of permissions and a purple bar at the top of the screen Action has succeeded