Create a module card thumbnail and banner image for your module - Staff Guide
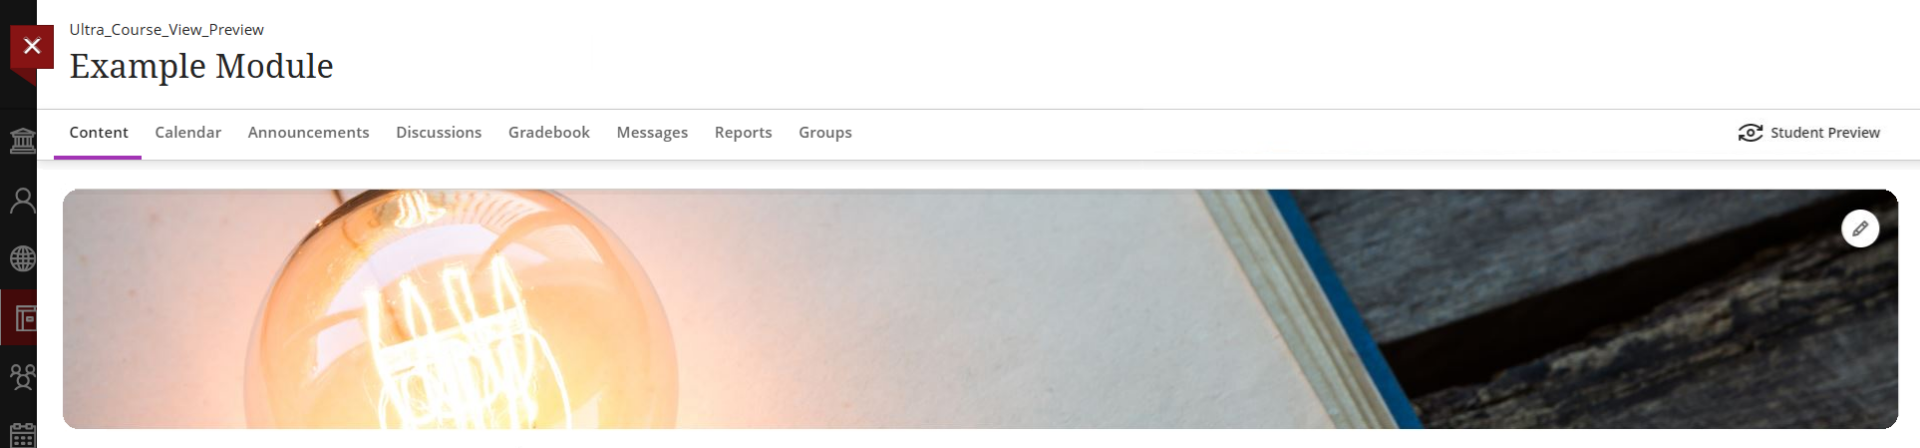
Banners can be a great way to personalise your module, they are displayed within your module, at the top of the Content page. They can help you and your students easily differentiate one module from another.
The same image is used for your module card thumbnail which displays on the Modules page (you and your students will see it in grid view) - this helps creates a visual brand for your module.

If you prefer, you can personalise your module card thumbnail image but refrain from adding it as the Banner in your module (but not vice-versa).
There are two options to add a banner/thumbnail, you can upload an image from your device or search for stock images from the Unsplash image library. If you are uploading an image you need to have an it prepared in advance. Images must be at least 1200 x 240 pixels. Where possible avoid using images with text as they don’t scale well on smaller screens such as mobile devices. Images should be uploaded as a .png, or .jpg/.jpeg file. For more guidance on finding suitable and properly licensed imagery for use as a module thumbnail/banner and other online learning content, see Creative Comms - Finding suitable quality images for your module content.
How to add a module image
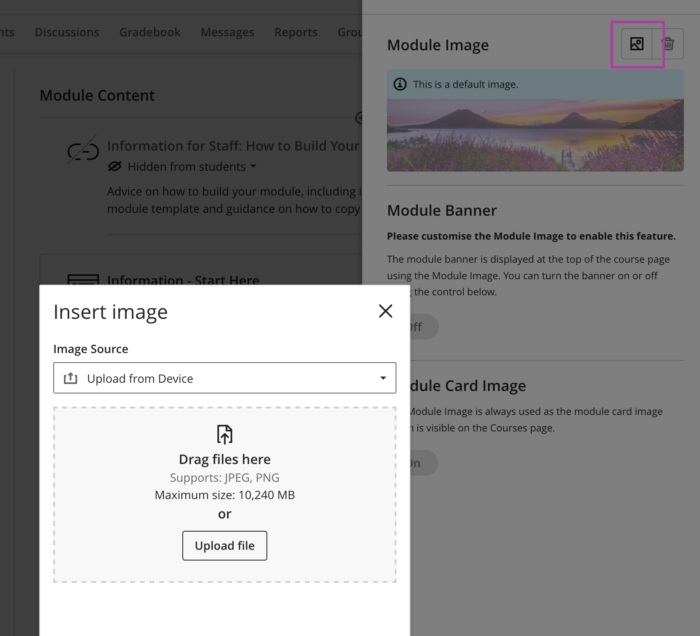
1. Open the relevant module. In the Details & Actions area, under Module Image select Edit display settings . The Module Image panel will be displayed.

2. Click the image icon (next to the delete button), a new window will open where you can:
- Upload from Device - Click Upload file, or drag your image into the drop area. Your chosen image will then be uploaded. If your chosen image is too small you may see a notification telling you your image is too small and that you should select an image 1200 x 240 pixels or larger.
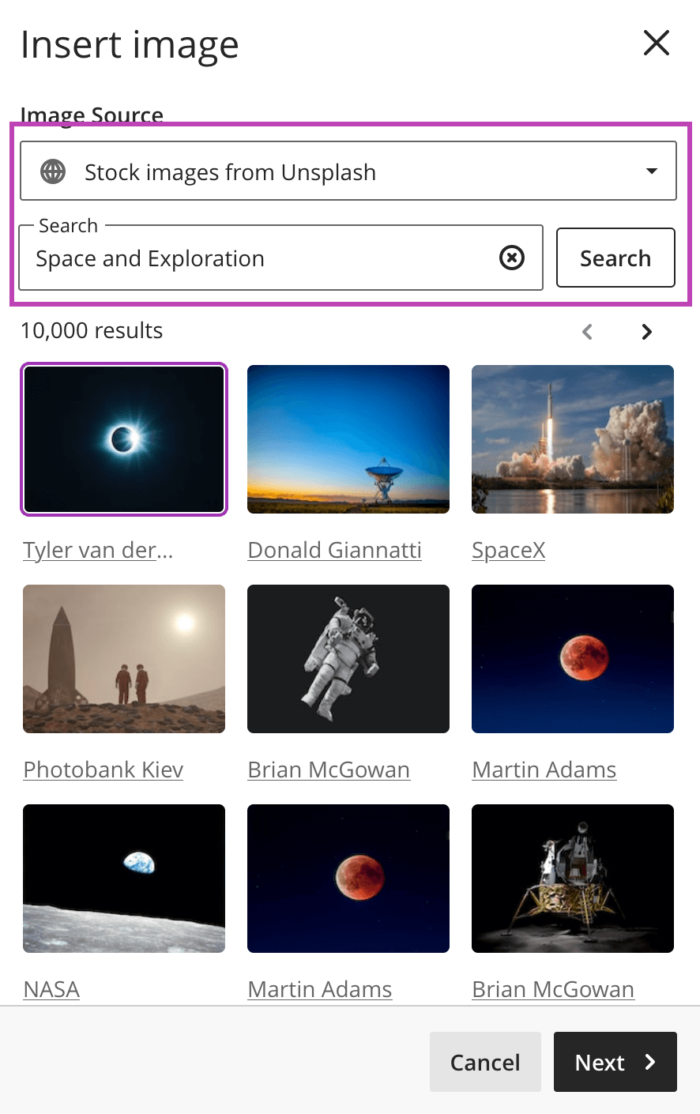
- Stock Images from Unsplash - Click Stock images from Unsplash from the dropdown menu. Enter your keywords and click search, then select an appropriate image and click the Next button.
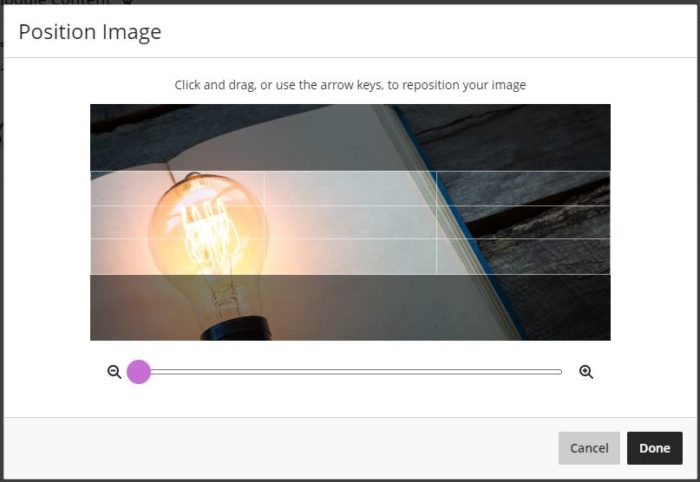
3. The Position Image pop-up will then appear on screen. This will show you a preview of the parts of the image that will be displayed. Position your image, according to your preference using your arrow keys or mouse. You can also zoom in and out using the slider at the bottom of the window. Click Done to complete the upload and save your edits.
4. The Module Banner toggle will be on. If you do not want to use your image as a module banner it will still be used as the thumbnail for your module.
5. Either enter an image description which will be used to provide a description to screen readers or Mark as decorative.
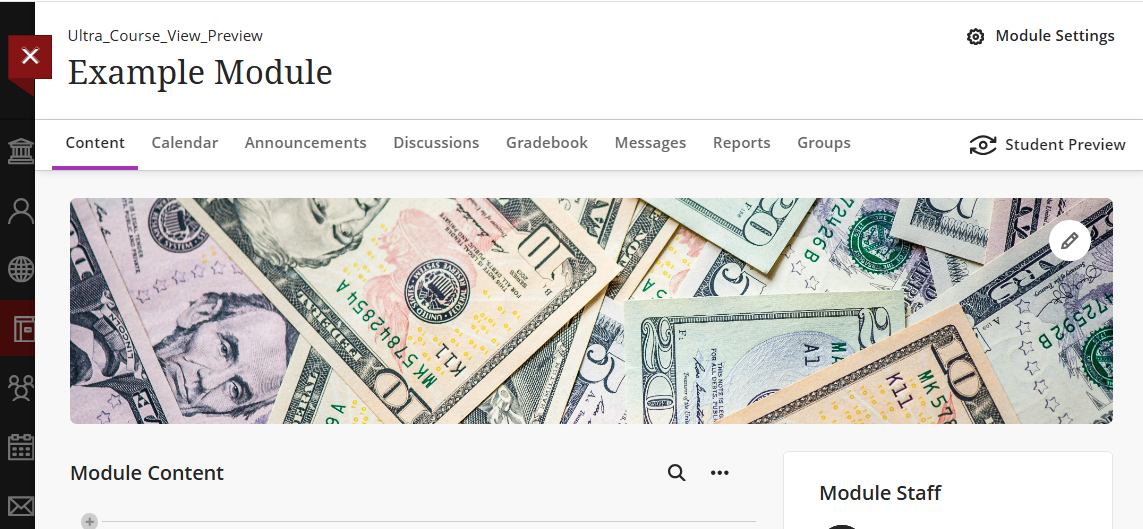
6. Click Save . The image will now be used as the thumbnail for your module. If you have opted to use the image as a banner, it will also appear at the top of the Content page above the Module Content area.
To edit your module image
You can edit your module image by selecting Edit display settings from the Details & Actions area, or by hovering over the banner with your mouse and clicking the pencil icon. Either way will open the Module Image panel.
You can then remove your image, upload a new one, or change whether it appears as a banner or not.