
Using Personal Capture - Staff Guides
To use personal capture in Panopto
- Log in to Panopto from your Device (open a browser and log in via leeds.cloud.panopto.eu)
- If you are using a teaching space with a lectern, log in using the in-room PC where possible*. A shortcut to Panopto Capture is available on the lectern PC desktop.
*Panopto Personal Capture is a manual recording method and does not have the red light or pause button functionalities used with automatic lecture capture in teaching spaces. When used from a lectern PC in teaching spaces, it will only capture audio and what is displayed on the lectern PC.
Personal Capture Video Guide
Personal Capture Text Guide
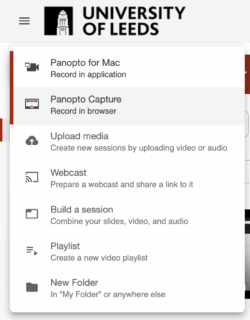
- Select Create.

- Select Panopto Capture – Record in Brower from the dropdown menu.
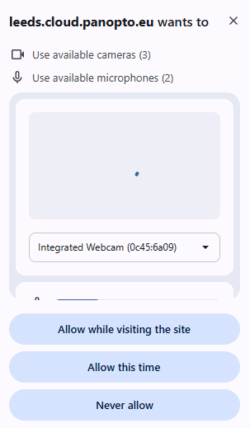
- If your browser prompts you to allow camera and microphone, ensure you select Allow.
Configuring the Recording
Next set your preferred options for Audio, Video and Screens and Apps.
- Audio: Choose your preferred audio input – usually the built in microphone on your device.
- Video: Select your device's camera from the dropdown.
- Screens and Apps: You can share your screen, a window or an individual app.
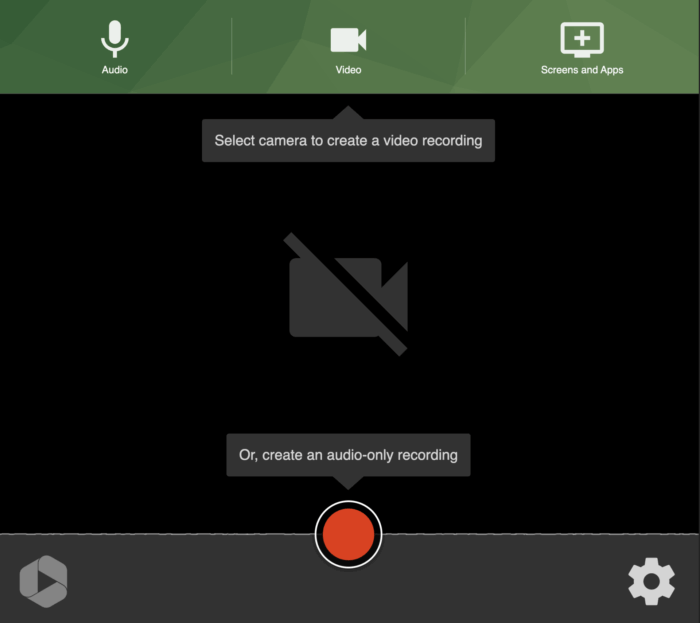
Note: if using personal capture in a teaching space, some rooms do not have a lectern webcam, selecting audio and screen only is recommended in this case.
Stop and Start the Recording
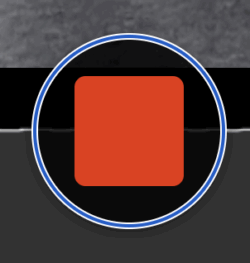
Use the central red button to start and stop the recording.
Select Record / Start to start recording.

Select Stop to end the recording.
Saving the recording
As soon as you stop your recording you will be taken to a menu to save and name your video.

- Select the appropriate folder (My Folder is your personal folder or you could save it directly to a module folder).
- Give your recording a relevant and clear title, for example; Name-Module-Content.
- Enter a concise description.
- Your video will become available on Panopto after processing, depending on the length of the video this may take several minutes.
- If you wish to share your video recording, please follow the sharing in Panopto guide.
Panopto saves recordings automatically, there is no need to select save. You can close the tab when you have finished.
< Return to Panopto Staff Guides.
Page last checked: September 2025