Marking with Blackboard Annotate - Staff Guide
What is Annotate?
Annotate is a tool that can be used to mark documents that have been submitted via Blackboard Assignments. The tool is accessible when viewing students' Assignment submissions via a module's Gradebook. It allows staff to view submitted documents online and add a variety of annotations using comment boxes, text, images, highlighting, free-hand drawing tools, etc.
Topics covered in this guide
- Navigating the interface
- Using the Recording Tool in the Feedback box
- Comments: Attaching a comment to a highlighted section of text
- Comments: Placing a comment anywhere on the document
- Comments: Formatting comments
- Comments: Anonymising comments
- Using the Content Library
- Comparison of Annotate and Feedback Studio
Navigating the interface
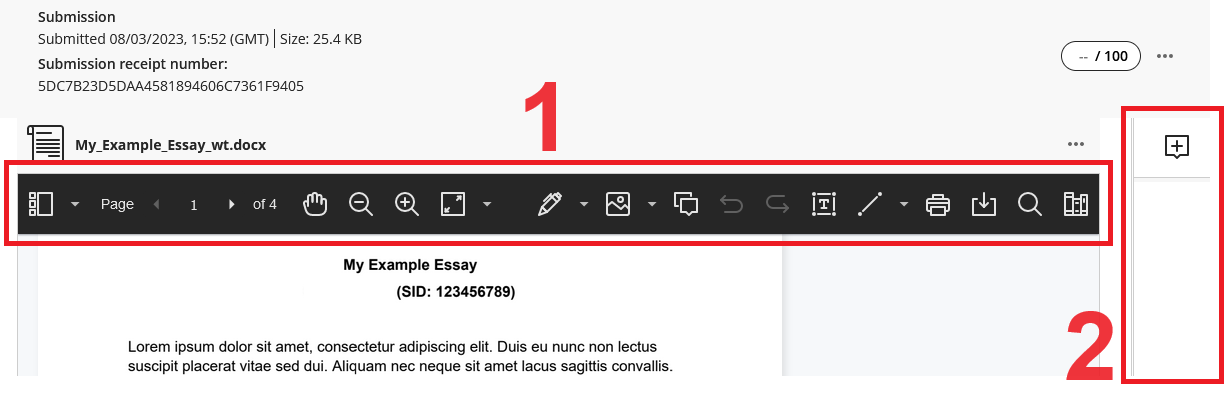
The image above shows two main elements of the interface, labelled 1 and 2:
Annotate menu bar (1)
For a run-through of the tools and features on the Annotate menu bar, see this video on Annotate in Blackboard Learn. For a text-based description of the same features, as well as a list of the file types that are compatible with Annotate, see Blackboard's Annotate guide. (Note that the very first image at the top of Blackboard's guide shows a slightly older version of the interface - however, this difference does not affect the relevance of the information offered in the guide.)
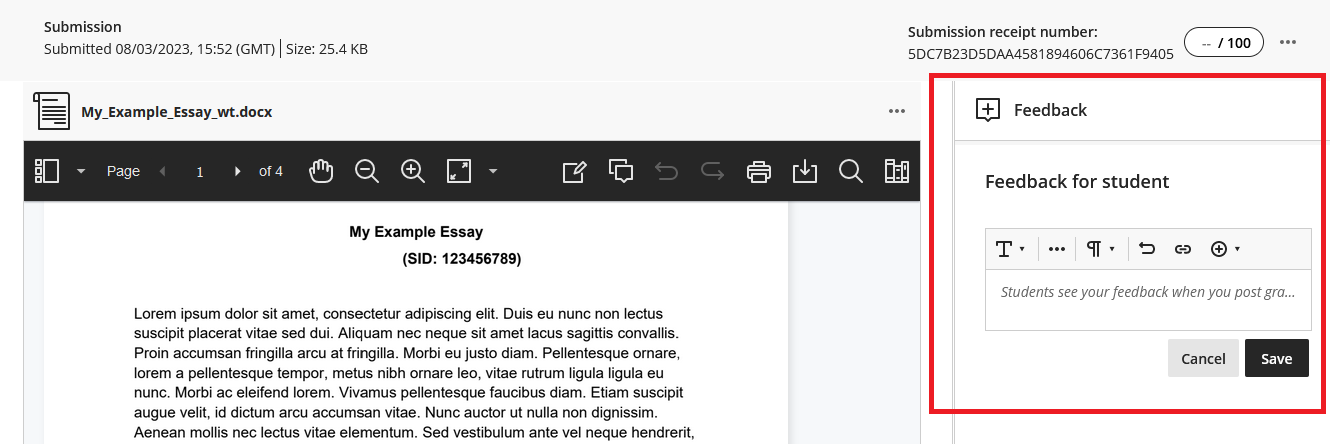
Feedback panel (2)
This panel on the right-hand side of the screen can be expanded, by clicking on the + icon, to show the Feedback box. When this panel is expanded, it appears like this:
Notable features and functions
Using the Recording Tool in the Feedback box
In addition to the previously existing range of options, the Feedback box now also includes a Recording tool, accessed by clicking on the + icon in the toolbar.
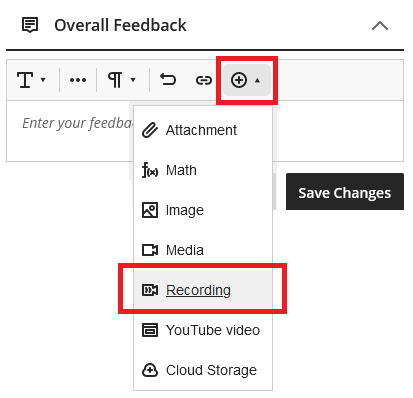
Recordings can be created using camera + audio, or just audio. Although there is a 5-minute limit on each recording, an unlimited number of recordings can be added within the Overall Feedback box. For a more detailed explanation of the Recording tool, and its other uses (beyond the specific case of marking Assignments), see Using the Recording Tool in Minerva.
Comment Boxes
Comment boxes can be added in two different ways.
Attaching a comment to a highlighted section of text
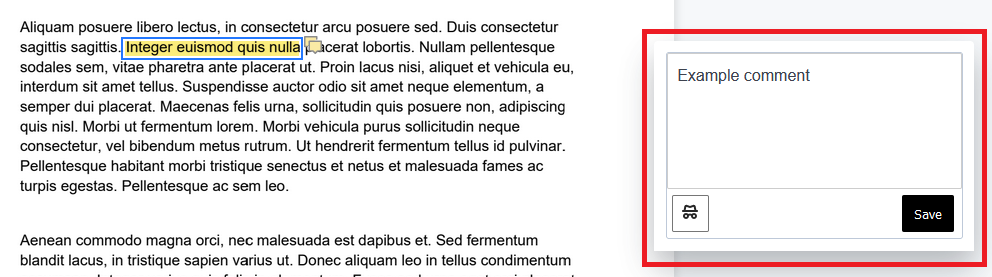
Click and drag over a section of text to highlight it. When you release the mouse button, a menu bar will appear next to the highlighted text. Click on the Comment icon to add a comment.

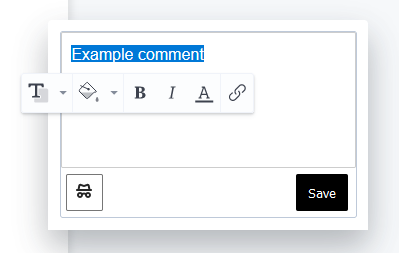
In the Comment box that appears, type your comment and then click on Save.
Placing a comment anywhere on the document
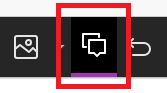
Click on the Comment icon in the menu bar at the top of the Annotate interface.
![]()
After clicking it, note that the icon changes its appearance to indicate that Comment mode is active.
With Comment mode active, click anywhere on the document. A comment box will appear (in the same way as described in the preceding section).
To exit Comment mode (allowing you to click on the document without triggering the placement of a new comment), click on the Comment icon in the menu bar once more. The icon will return to its original appearance to indicate that Comment mode is now off.
Note: comments placed using this method can freely be moved around the document by clicking and dragging on the square speech bubble icons that represent them.
![]()
By contrast, comments added by highlighting text (using the method described in the preceding section) are fixed in place and cannot be moved around.
Formatting comments
Use the formatting options in the menu bar (font and fill colour, bold, italics, underline, and add link) to format text.
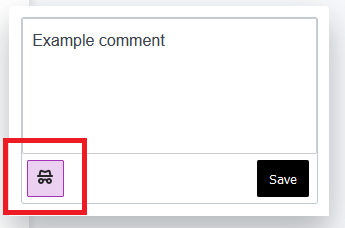
Anonymising comments
Note that by default, comments display the name of the author. To anonymise a comment, click on the hat and glasses icon at the bottom left. (The icon will turn purple to indicate that the comment is anonymised.)
Using the Content Library
The Content Library allows you to create and categorise a store of reusable comments. The comments stored in your own Content Library can be accessed whenever you use Annotate, regardless of which Minerva module / assignment you are currently working in.
To access your stored comments, or to create new ones, click on the Content Library icon at the far right-hand side of the menu bar.
![]()
Within the Content Library panel that opens up, you will see the comments you have previously saved under various category headings that appear in bold. To add a new comment, click on the + icon at the top right.
![]()
You should now see the Add comment box, where you can type a new comment.
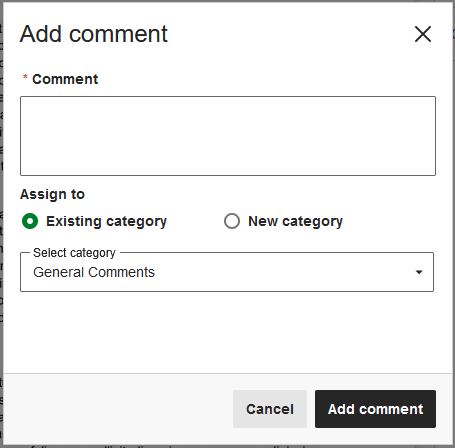
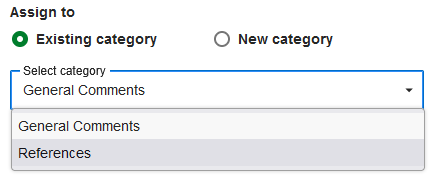
If you want to assign the comment to an existing category, leave the Existing category option selected, and choose the desired category from the dropdown menu.
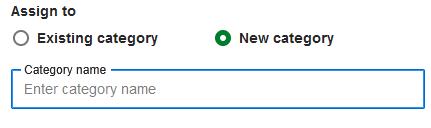
If you want to assign the comment to a new category, select the New category option and type in a name for the category.
Once you have chosen a new or existing category, click on Add Comment. The new comment will now appear in the Content Library, under the relevant category.
Note that there are currently no formatting options for comments created within the Content Library - ie, they are just plain text comments. However, when you place a comment from the Content Library onto a student's document, you can apply formatting at this point.
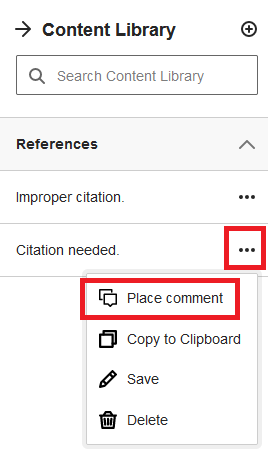
To place a comment, click the 3 dots icon next to the relevant comment, and then click on Place comment.
Now click on the document where you want the comment to be placed. The comment will appear in a box where you have the option to edit/format it before saving it.
Comparison of Annotate and Feedback Studio
Annotate is similar in many respects to Turnitin's Feedback Studio, a tool with which you may already be familiar. To help you to choose the best tool to suit your needs, the table below offers a detailed side-by-side comparison of the features of both tools.
| Features | Annotate (Blackboard Assignment) | Feedback Studio (Turnitin) |
|---|---|---|
| Mark offline | Submissions can be downloaded to view offline but marking tools are not available offline. | Marking tools are not available offline. |
| Comment boxes | Click comment icon on toolbar then click anywhere on paper to add, or highlight text (in yellow) and click comment icon to add. | Click anywhere on paper to add, or highlight text (with choice of colours) and click comment icon to add. |
| Appearance of comments | The presence of comments is indicated by speech bubble icons on paper. Comments themselves sit in the right margin (similar to comments in Word/Google docs). Lengthy comments display first few lines with “Show more” option. Note that, currently, comments show timestamps and the name of the author. | Comments appear as speech bubble icons on paper. Icons can be clicked to view/edit text in a pop-up box. Comments do not show timestamps or author names. |
| Formatting comments | Formatting options: Text colour, background colour, bold, italics, underline, add link. May add further comments to existing comments. | Formatting options: Bold, italics, underline, add link. Can also convert comments to QuickMarks, or assign them to Rubric criteria. |
| Editing comments | Can be edited or deleted. | Can be edited or deleted. |
| Moving comment boxes | Only comment icons that are not attached to a specific section of highlighted text can be moved. | All comment icons can be moved. If a comment is associated with a specific section of highlighted text, a line between them will be retained to visually indicate their connection. |
| Free text comments (added directly to paper - not in a comment box) | Choice of font colour, background colour, opacity (of both text and background), font (twelve options), font size, text alignment (vertical + horizontal). Text can be moved, edited, duplicated. Shape of 'area' in which text sits can be manipulated (but note that changing the area size can affect the text size, and vice versa). | Blue italicised text only. Text can be moved / deleted. No direct control over the 'area' in which text sits - it automatically extends from top left corner of text's current location on page to right margin and then wraps to a new line. |
| Re-usable comments | No pre-defined comments available. Can save comments for re-use and sort them under categories (making them functionally similar to Turnitin's QM sets). Saved comments are searchable. Comments cannot be exported to share with colleagues. | Multiple sets of pre-defined comments (known as "QuickMarks" (QM)) available. Can create new sets and/or new QMs within sets. Any comment can easily be converted into a QM. QMs are searchable. QMs can be exported to share with colleagues. |
| Options for highlighting student's text | Strikethrough (red), underline (black), underline with 'squiggle' (red). | Strikethrough (red). |
| Stamps | 'Stamps' are mostly coloured boxes containing pre-defined text such as "Approved" / "Draft" / "Void", etc., along with a range of shapes - eg, ticks and crosses. Can be added, resized, moved. Can create custom stamps. | N/A |
| Drawing | Can draw on paper using pen, brush and eraser tools. Can adjust thickness, colour, opacity and apply various other effects. | N/A |
| Shapes | Can add various lines/shapes. Can adjust thickness, colour, opacity, style, and add various 'nodes' to lines. | N/A |
| Additional feedback | There is an Overall Feedback box in the right-hand side panel with the usual array of formatting options that appear in Minerva's text editor boxes. | There is a Text Comments box in the Feedback Summary side panel. Formatting options: bold, italics, underline, add link. |
| Attaching feedback files | The Overall Feedback box allows files to be attached (via local drive, OneDrive, etc). | N/A |
| Recorded feedback | There is a recording option in the Overall Feedback box. Can record audio on its own, or audio + webcam. Maximum 5-minute time limit on a single recording. However, an unlimited number of recordings can be attached. | There is a recording function in the Feedback Summary side panel. Can record audio only. Maximum 3-minute time limit on recordings. |
| Document navigation | Navigation via expandable left-hand column. Can navigate document by clicking Thumbnails (to select pages), Outline (which detects heading styles in doc), or Annotations (which lists every annotation – inc. comments, shapes, images, etc). Can search text of student paper. | Navigation via expandable left-hand column. Thumbnails of pages used to navigate. No search function. |
| Document appearance | Zoom function available. When zoomed in, pan tool can be used to click, hold and drag paper left/right (no scroll bar). Best fit / fit width / fit page options. | Zoom function available. Horizontal scroll bar appears when zoomed in. Can toggle high resolution display on/off. |
| Option to download paper? | Yes. | Yes. |
| Option to print paper built in (ie, not using browser print function)? | Yes. | No. |
| Undo function | Undo and Redo buttons are always present in toolbar and will cycle through multiple actions. | Delete actions are followed by Undo prompts - but these prompts are lost if you don't act on them immediately (ie, taking any other action closes the prompt). |