Using the Recording Tool in Minerva - Staff Guide
The Recording tool can be used to create recordings directly within Minerva. Recordings can include both video and audio, or can be audio-only. They can also include screen recordings. They automatically generate both captions and transcripts which can be edited. There is also an option for students to control the playback speed.
In this guide:
Where can I add a recording?
The Recording tool is available in two different places: Announcements and for student Feedback (within Gradebook).
Recordings have a maximum length of 5 minutes. There is no limit to the number of individual recordings that can be created. Captioning and a transcripts is automatically created for all recordings.
1. Using the Recording tool
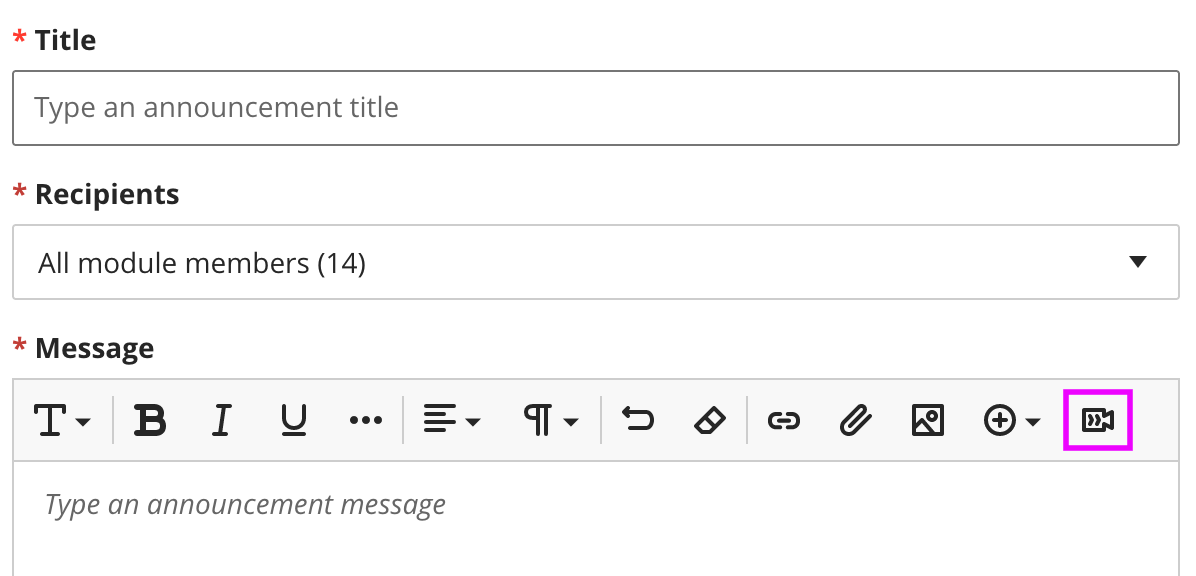
To use the Recording tool in an Announcement click the recording icon on the toolbar in the Message section.
Recordings can also be added as feedback for students in relation to any of the Blackboard assessment types (ie, Assignments / Offline Assignments, Tests, Discussions, Journals, and manually created Gradable Items). For more information on adding feedback in Gradebook, see the Enter grades and feedback in Gradebook guide.
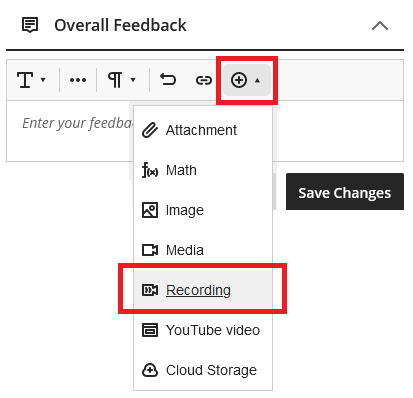
To use the Recording tool when adding feedback click the recording icon on the toolbar icon on the toolbar in the Overall Feedback box. (Note that this box may be named Feedback or Overall Feedback depending on the type of assessment you are marking).
For Tests, you can also add a recording to contextual feedback for specific questions. When you review the answer for a student, open the feedback option to add feedback. The recording option appears in the content editor menu.

How to create a recording
First of all you need to choose what type of recording you wish to make from the recording menu: one from your camera, audio only, screen, screen with audio or video with screen. You can also upload a video from your device:

You will likely see options to use your camera/microphone - select 'Allow while visiting the site'. You may also have to grant access for your browser to record your computer's screen if you select this option (for some configurations, you may need IT to adjust your permissions - this is most likely for macs).
For screen recordings you will need to select the browser tab you wish to record/select the entire screen. Once selected, you will need to return to the Minerva tab to start the recording. Then if just recording a tab, go to the tab you are recording to navigate as needed.
To start the recording, select the 'Start recording' option which is in the top right:

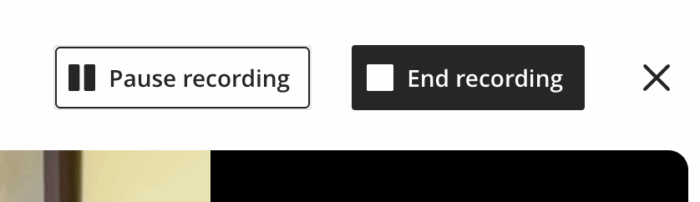
You will see a countdown and then the recording begins. You can pause or end the recording using the controls in the top right (labelled 'pause recording' and 'end recording'):
When you end the recording, you can review it (it is recommended that you change the Title so it is more meaningful to students). Then, if happy, click Save Video and wait for it to upload. This may take a minute or two depending on the length of your video:

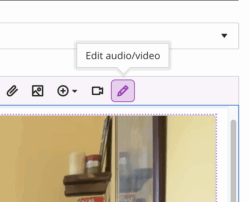
This will add the recording to your Announcement or Overall Feedback. If you need to edit, make sure you are in the edit interface (for an Announcement), then click on the Edit pencil which will be highlighted in the toolbar:
From the Edit interface you can: change the title of the recording/edit the transcript (you can not make edits to the video, you will need to record another if it is not correct).
![]()