
Enter grades and feedback in Gradebook - Staff Guide
In Gradebook, grades and feedback are added to the assessment, and then posted to students (students only see them when they are posted). Our integrated tools (e.g. Turnitin and Gradescope) post grades automatically to students. See Post Grades for more detailed guidance on how grades are posted.
In this guide
Enter grades and feedback for integrated assessment tools
At Leeds we have a variety of assessment tools available. Some of these are integrated tools (extra tools which we have purchased and integrate with Minerva). These tools are:
- Turnitin
- Gradescope
- Pebblepad
- Feedback Fruits
For integrated tools, in general you should enter grades and feedback in the tool interface (e.g. Turnitin) rather than Gradebook. To do this, we advise you click on the content link students used to submit their assessment.
Grades in integrated tools can be sent to the Gradebook and will enter the Gradebook as already posted so students will see them straight away (Turnitin is the exception – grades are posted on the Feedback release date). For more information about grading in specific integrated tools, view individual assessment guides.
Go back to the top of this page
Enter grades and feedback for Blackboard Assessment Tools
Blackboard currently offer 4 tools which can be used for assessment:
- Blackboard Test
- Blackboard Assignment
- Discussion tool
- Journal tool
There are two ways to access the grading interface via Gradebook for these tools:
1. Grades View
a. Select the Grades View if it does not open by default (the icon with 4 squares)
b. Locate the assessment item, if there are submissions, you will be able to select the 'grade icon' under the assessment name.

What you see next depends on the tool you are using as our vendor are introducing a new grading interface (called Flexible Grading) but this is not available for all tools yet.
For most Tests/Assignments please review our guide on the Flexible Grading interface if you need support.
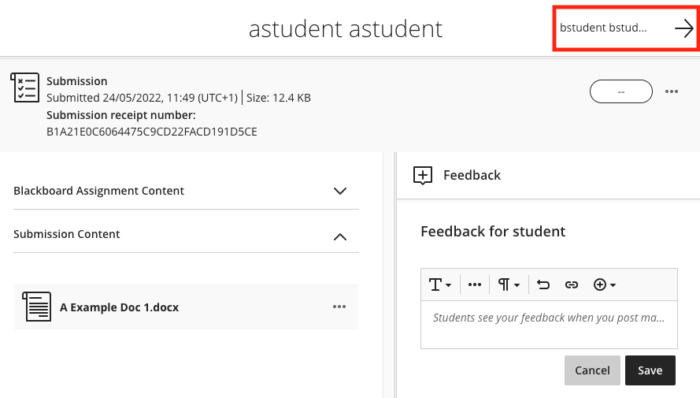
For Discussion/Journal and Test/Assignment using peer review or more than one marker, you will see the student's attempt load and can navigate between users’ attempts using arrows at the top of the screen.
There are options to add grades and feedback on the right.
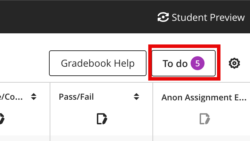
If you prefer, there is also a To Do option accessed via Grades. This will highlight what is waiting to be graded and which grades need posting (returning to students).
Select To Do from the Grades View (top right) and follow links to grade/post work.
2. List View
a. Open the List View if it does not open by default (the icon with three lines)
c. Click the assessment item name, you will see the status for each student. Click on the student’s name to view their attempt.
Go back to the top of this page
Enter grades directly into Gradebook
This workflow is not in general recommended – grades should be entered directly into the grading interface where the submission can be seen.
There are two ways to enter grades and feedback in the Gradebook:
2. From Grid View
Select the Grades View if it does not open by default (the icon with 4 squares)
Find the assessment, under the name, select the enter grade icon.
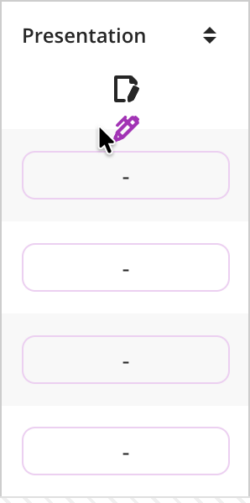
Click on a cell where you can enter a grade, and then press Enter.
2. From List View
a. Open the List View if it does not open by default (the icon with three lines)
Click the assessment item name, you will see the status for each student. Click on the oblong under Grade. Enter grades as required.

Go back to the top of this page
Returning Grades/Feedback for offline assessments (e.g. a presentation)
There are 2 options for returning grades and feedback for assessment outside of Minerva. You can either create a Gradable Item in the Gradebook which will allow you to add a grade and feedback. Alternatively, you can use the Blackboard Assignment tool and set the Assignment as an ‘offline assessment.’ This method allows you to attach a Blackboard rubric. See the Blackboard Assignment guides for information on how to set this up.
Create a Gradable Item for adding grades
This can be done from List View or Grades View.
If in List View, click the + icon from the gradeable items page, then select Add Item.
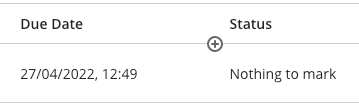
Add a name, set the student visibility, grading options and points, then select a grade category. If you don’t see an appropriate one you can create categories (see the Grade Category section above), once you are happy click Save.
You can also create a Gradable Item from Grid View by putting your mouse in the header row of the table – a plus icon will appear between the items.
