How do I submit my work in PebblePad for assessment? - Student Guide
< See other PebblePad FAQs and Tips
There are two ways to submit your work in PebblePad - auto-submission and manual submission. The way you will use depends on how your tutors have set up their assessment. If you are unsure which way your assessment has been set up you should contact your tutor for advice.
Auto submission of work
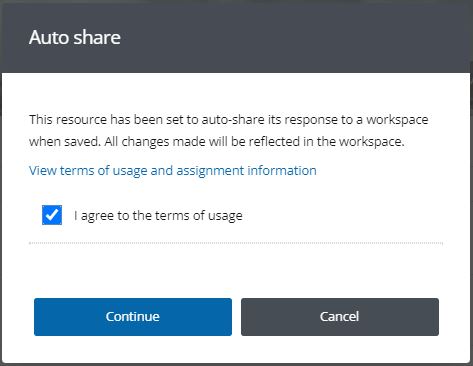
Your tutors may have set your assessment to auto-submit. When you first open the assessment from the Resource store you will get the message: This resource has been set to auto-share its response to a workspace when saved. All changes made will be reflected in the workspace. You will need to check the I agree to the terms of usage box and click Continue, this will then allow you to view and start working on the assessment.
Every time you press Save when working on/viewing the assessment it is automatically submitted, (and your tutor can view and comment on it at any point if they wish to). You will get a notification in PebblePad, and an email, to say an auto-submission has occurred, however, you only get this notification the first time you save, not when subsequent edits are made.
Auto-submission is not the same as auto-save; you still need to remember to save your assessment as you work. Any changes you make to your work and then save will be reflected until the deadline date. Once the deadline has passed, your tutors will automatically be able to see your work in the state it was at the time of the deadline. If you try to edit your work after the deadline has passed you'll find the assessment will be locked.
After you have saved for the first time, the work will become an Asset in your Asset store. This is now your own personal version of the work. You can either use this Asset link to return to your work or, if you go back to the Resource store link, you should find it now directs to your personal Asset version.
Make sure you use the Asset that is automatically created and don't create another Asset to work on. The auto-submit settings are linked to the Asset created from the Resource and, if you create a separate Asset, your work will not automatically submit.
Manual submission of work
If your tutors have not set the assignment to auto-submit, you will need to submit the work manually.
1. Find the item you want to submit in your Asset Store, and click on the icon to the left of it.
2. Click I want to... in the top right of the screen.
3. Click Share
4. Click I want to share with ATLAS
5. Once you have done this, select the correct Workspace and the correct assignment (if there is more than one) , and click Submit. If you are unsure which workspace or assignment you need to submit your work to, please check this with your tutors before submission.
6. Read the terms and conditions and click I agree
7. Finish by clicking on Submit for Assessment. You should receive a notification in PebblePad and an email to say this has been successful.
As with auto-submit, any changes you make to the work will be reflected in the submission (without the need to resubmit), until the deadline date.
Checking where your PebblePad work has been submitted
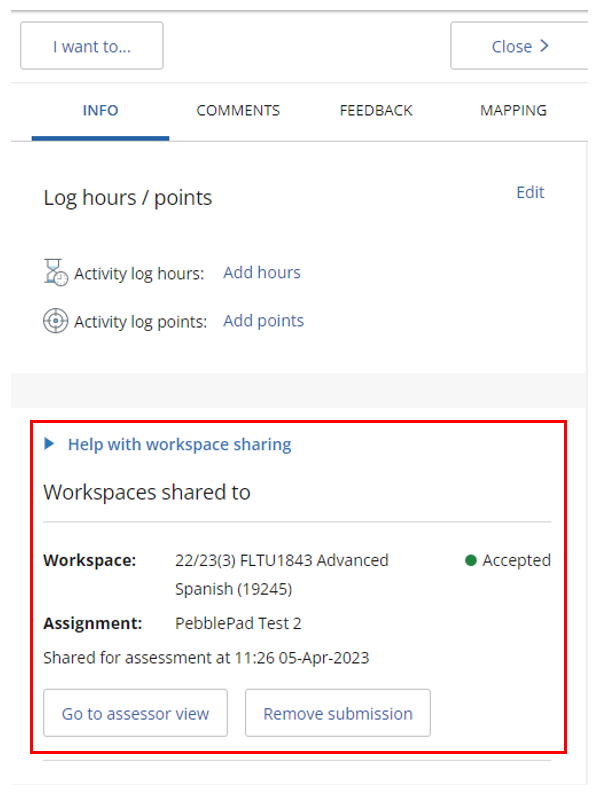
You can check where your work has been submitted by going to your Asset store in Pebbled and checking to see if it is marked as being shared with 1 or more workspaces.

If it is, you can click on the Shared with workspace link which will open up a pop up panel on the right. Scroll down to the Workspaces shared to section and you will see details of the assignments and workspaces to which your asset has been submitted.