Add images to Minerva: Staff Guide
Adding images to your content area can be a great way of grabbing attention and increasing engagement in your modules, and as an effective visual tool within your learning content itself. Images can be added in several areas throughout your module or organisation.
Banner Images
Banners allow to personalise your module, they are displayed at the top of the Content page within your module. They can help you and your students easily differentiate one module from another. Read our guide on creating a banner and thumbnail image for your Minerva module.
Learning Modules
Learning Modules are used on the Minerva module template for structuring learning resources. When you create learning modules, you have the option to add an image. For existing learning modules, select the three dot icon and then Edit to add an image. If you do not have an image, you can browse and select from Unsplash (an image library) or generate an image using AI. Images appear as a thumbnail alongside the learning module on the module content page.

Via the Content Editor
For Announcements, Assessment Questions, Documents, Journals, Discussions and Messages, there is the option to add an image via the add image button.
This is the simplest way to upload a JPEG or PNG. If you do not have an image, you can also use this option to browse and select an image from Unsplash (an image library) or generate an image using AI.
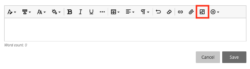
First select the add image button:
Then choose whether to upload your own image or browse Unsplash:

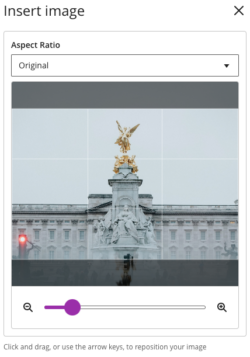
Once you have chosen/uploaded an image, you can change the aspect ratio or zoom into the image:
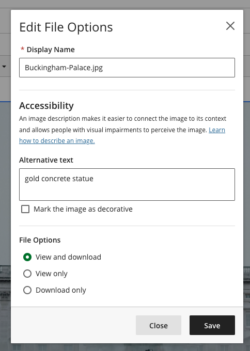
Finally you are asked to check the display name, alternative text and settings e.g. whether students can download the image.
Documents
Documents allow you to add different content types e.g. you can combine text, images and use HTML together on one page.
Images can be added directly to Minerva as part of a Document. Most common image file types, including animated gifs, can be displayed. Any unsupported file types can be downloaded by users.
When creating a new document, you'll see options to add different types of content. There is a specific image option will work well in most scenarios. You can also add an image via the content editor or by using HTML. You can also upload a file from your computer or from your University OneDrive account via the cloud upload option (see add files from cloud storage for guidance on how to link your account).

See the Blackboard guide on Document for more information on how to use it.