Creating a PebblePad ATLAS Workspace - Staff Guide
Each School has a dedicated area in PebblePad > ATLAS called a region. Creator access in a region allows you to create a workspace for your course, bringing together the student cohort and assigning assessments or other PebblePad activities.
If you do not have Creator access please request it by filling in this form. If you already have Creator permissions, you can see the Create a workspace button on your ATLAS dashboard.

Please note that if you are creating a workspace from Minerva, you will also need to be enrolled as an Instructor on the relevant Minerva module. If you are not already, please request this from the Student Education Service representative within your School. Ask if they can assign you the code of ACAD or MMAN in Banner (which will then map to the Instructor role in Minerva). If you don’t have an SES Rep, contact your Banner Super User or refer to the Faculty Learning Technologists contact list for advice.
If you are creating PebblePad content to simply share information (i.e. it does not have any fields that require input from the student), you do not need creator permissions or to create a workspace as you can simply share with the web.
There are two ways to initiate creating a PebblePad workspace:
A. Create a workspace from a Minerva module or organisation
This allows the workspace to automatically inherit staff and student enrolments from Minerva. This is called LTI integration and a message with this information appears in the Members area of such a workspace. Similarly to Minerva, student enrolments update from the data feed each day.
Creating a workspace from Minerva also enables assignment grades to be automatically passed into the Gradebook in a Minerva module.
As well as following the instructions below, you may also like to watch this on-demand training session which takes you through all the steps to set up a workspace via Minerva and then add assignments and sets.
B. Create a workspace directly from PebblePad
This is useful if there is no Minerva module or if it is a non-traditional cohort. If you choose to create a workspace directly from PebblePad, more admin is required to keep workspace members up to date.
If you choose to create a workspace directly from PebblePad rather than Minerva, it is not possible to retrospectively arrange for grades to feed from PebblePad into Minerva.
Creating a PebblePad workspace from Minerva
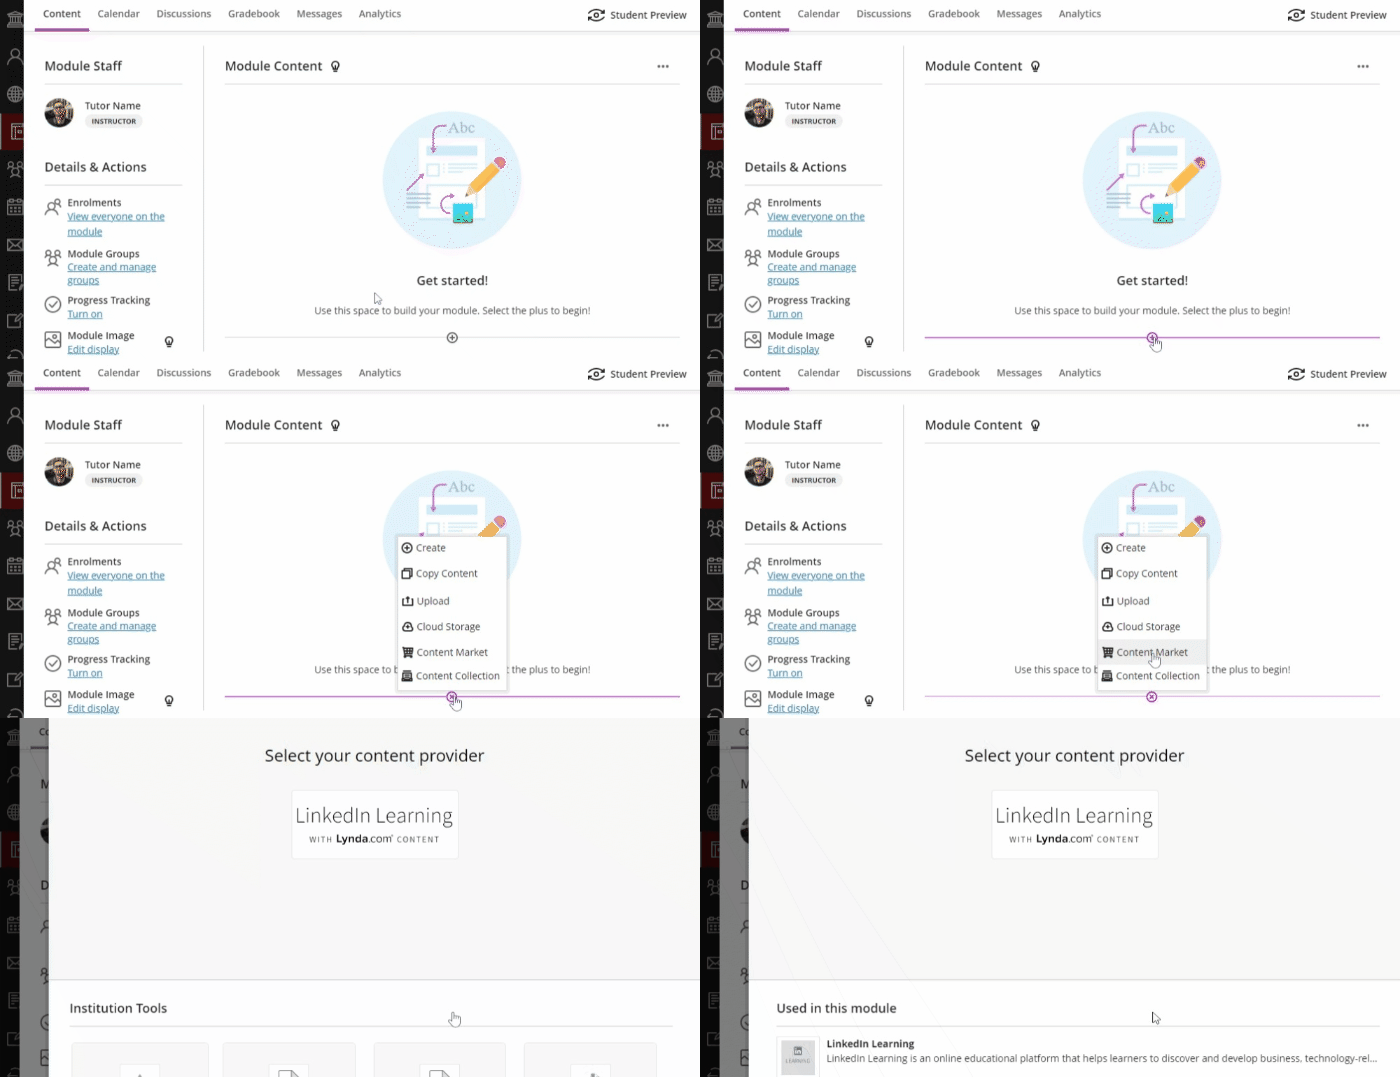
1. On the relevant Minerva module or organisation, click on the plus sign in the content area and select Content Market.
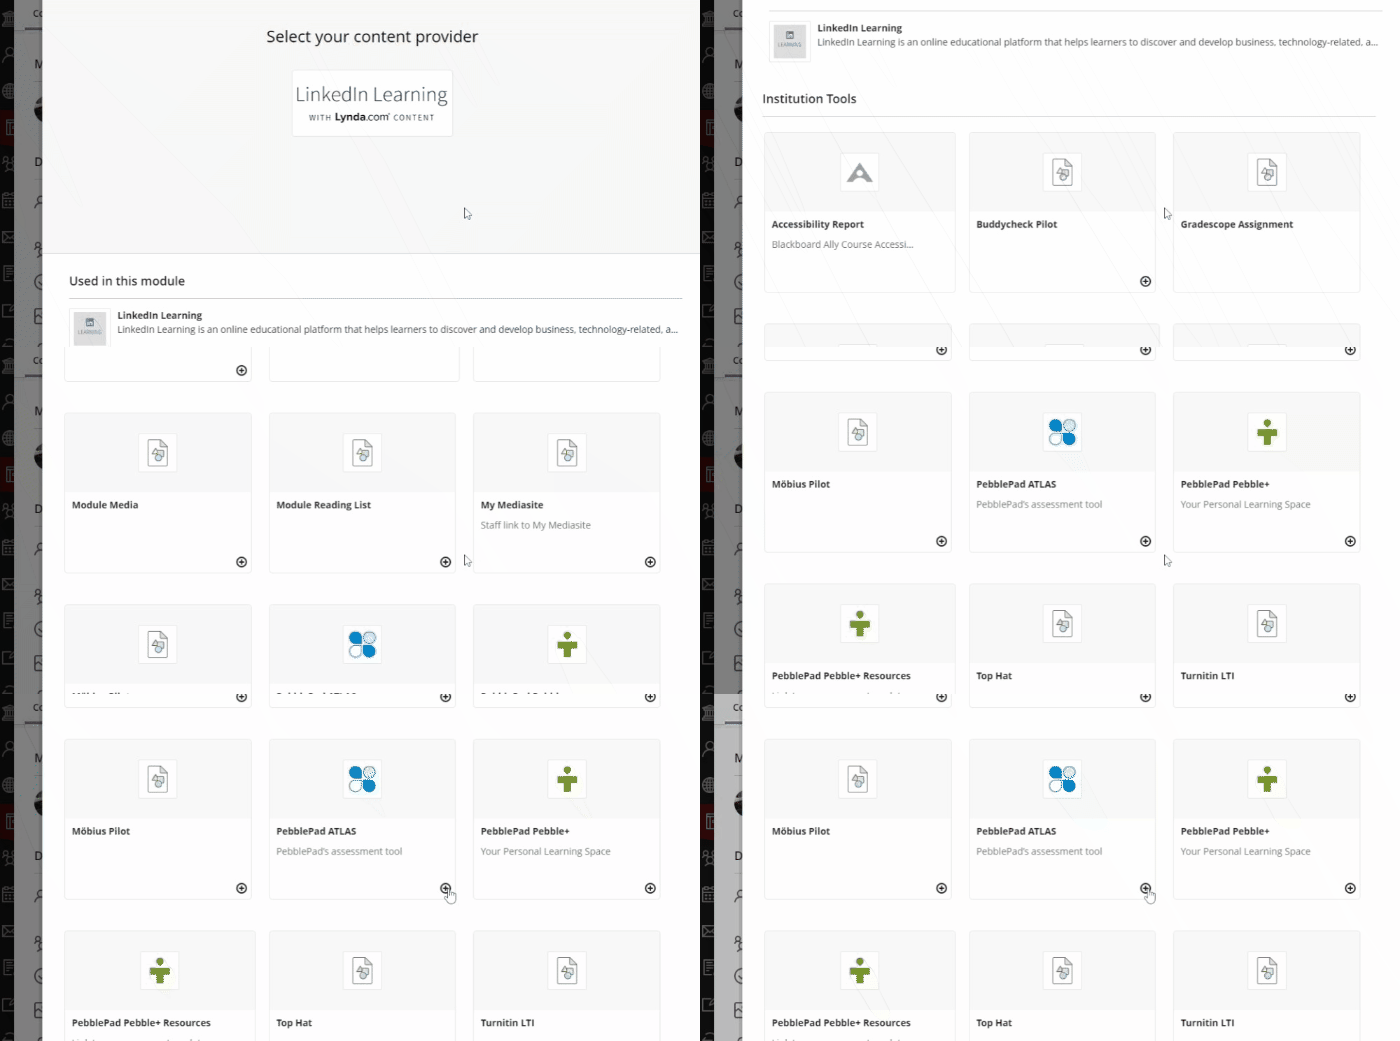
2. This opens the Content Market. Scroll down to find PebblePad ATLAS and click on the plus sign.
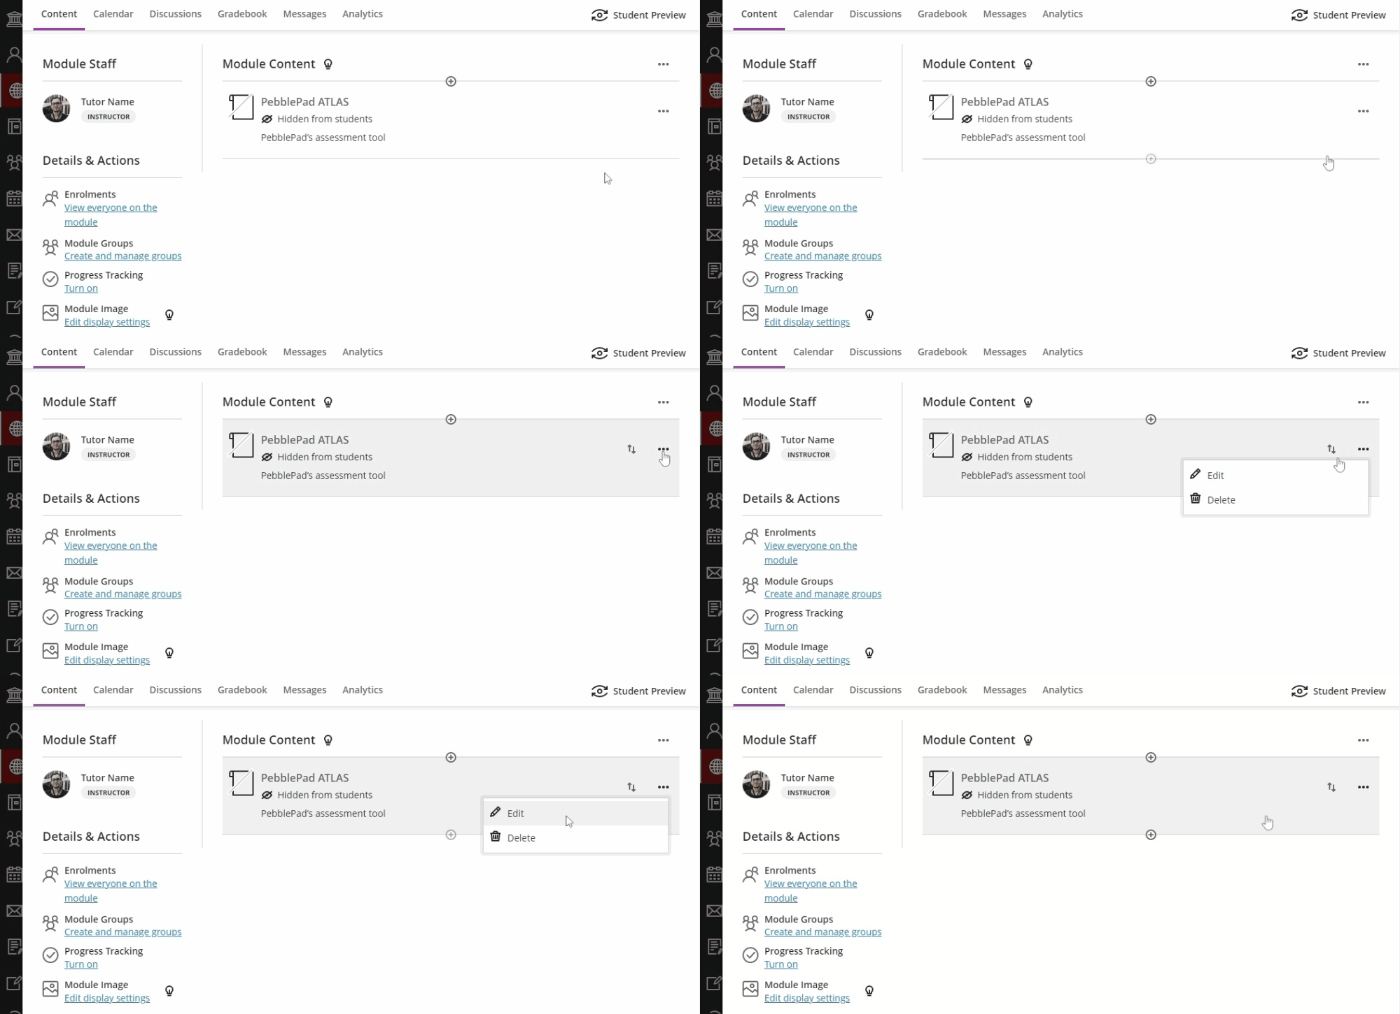
3. The PebblePad ATLAS link will appear in the content area. Click on the ellipsis to the right and select Edit.
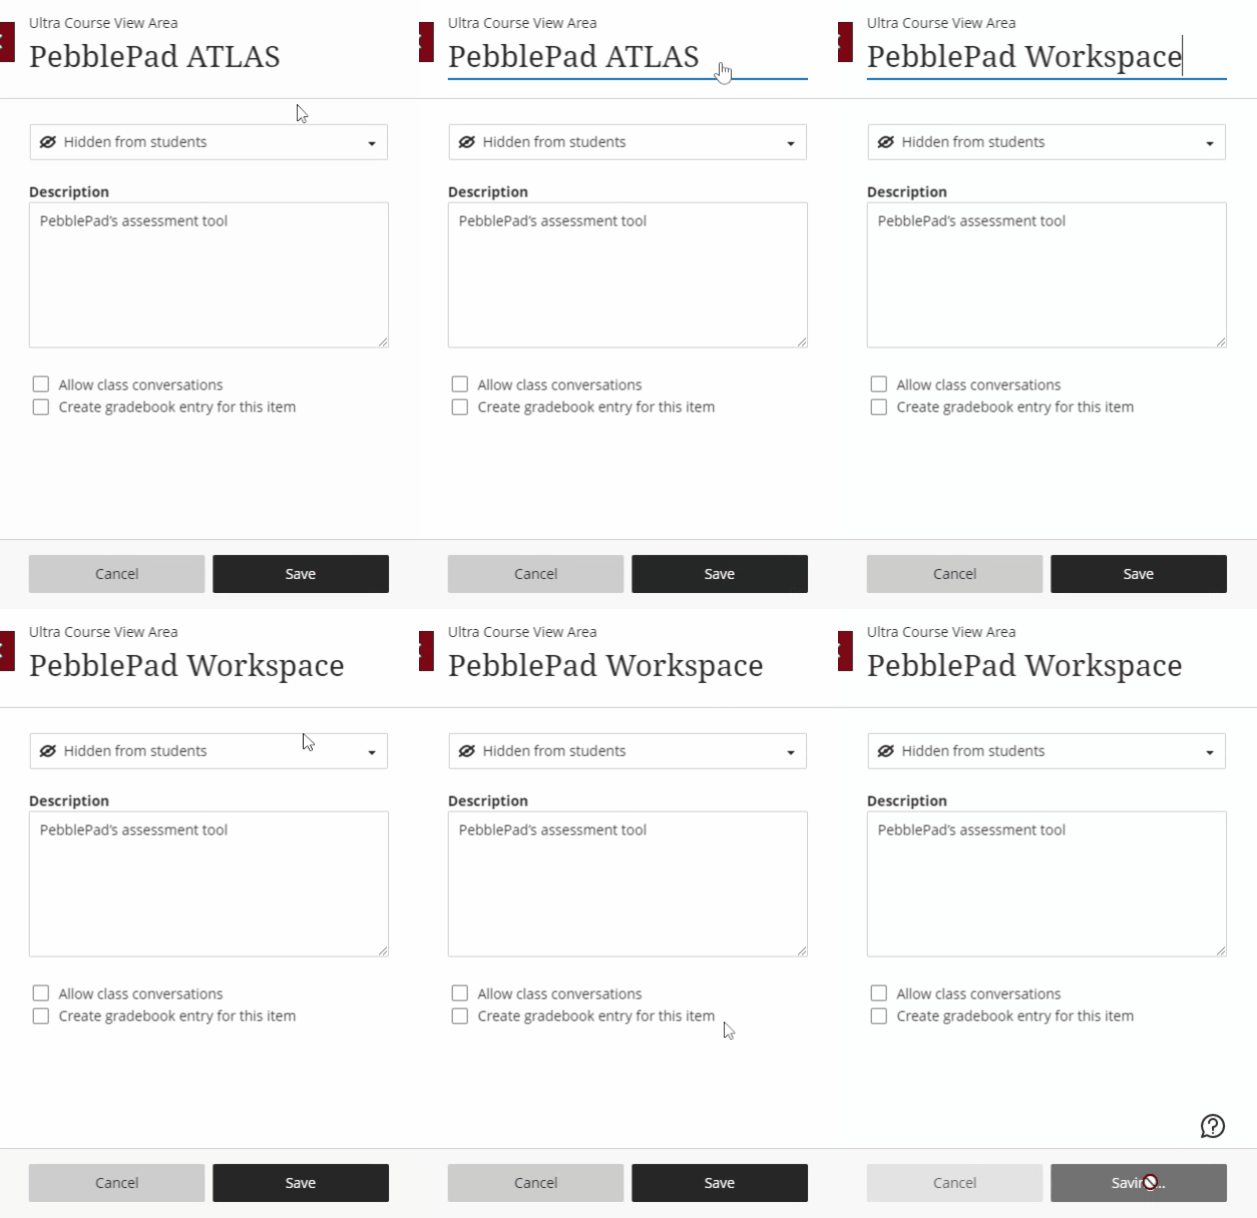
4. Rename this to "PebblePad Workspace", leave hidden from students and leave the gradebook option unchecked. Click Save.
5. Click on your renamed PebblePad ATLAS link. This redirects you to the PebblePad Workspace Wizard.
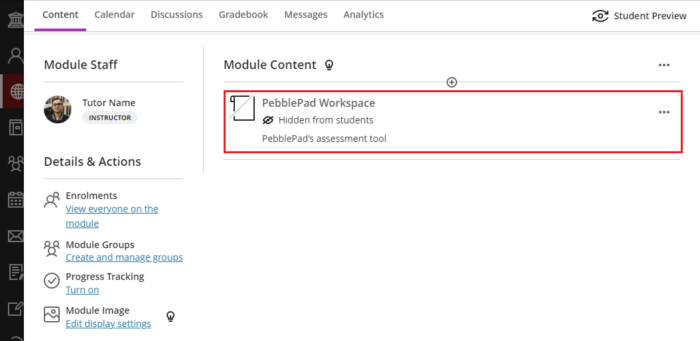
6. Select Create a brand new workspace and click Continue.
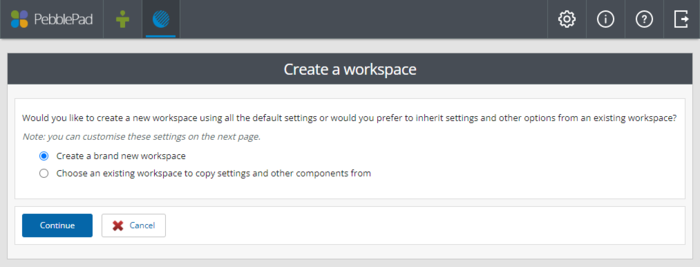
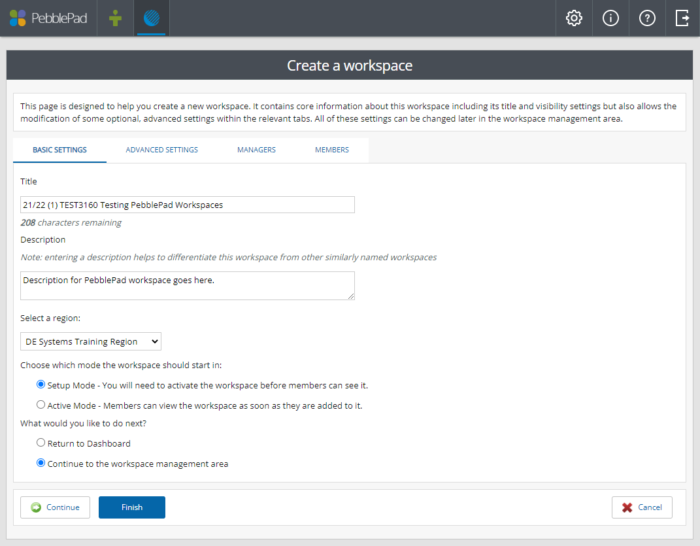
7. In the first tab, Basic Settings, check the workspace Title. It should have carried over from the Minerva module with the module naming convention: academic year (semester) module code, name and unique reference, e.g. 21/22(1) CHEM1200 Extraordinary Chemistry (32800). You can also add a Description.
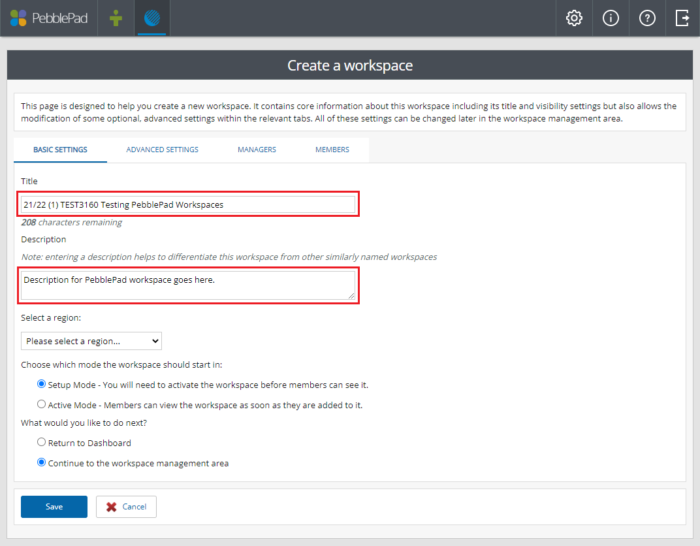
8. If you have Creator permissions in more than one Region, you also need to select which one to create this workspace in.
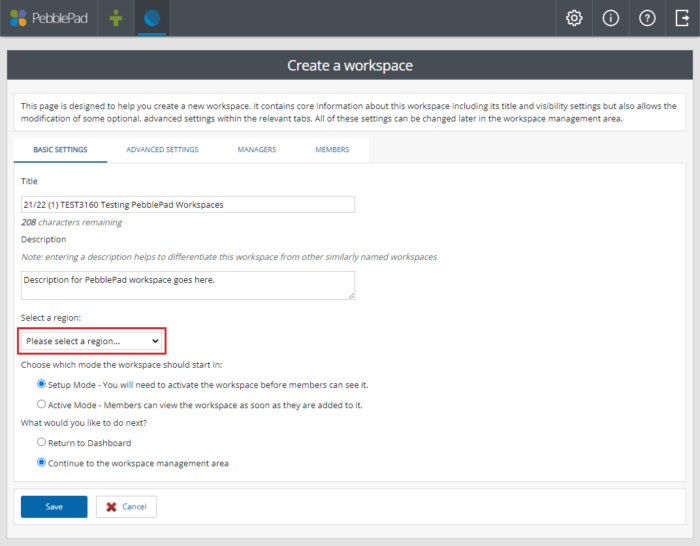
9. The default mode for the workspace is Setup Mode. Keep the Setup Mode and Continue to the workspace management area selections. Click Save.
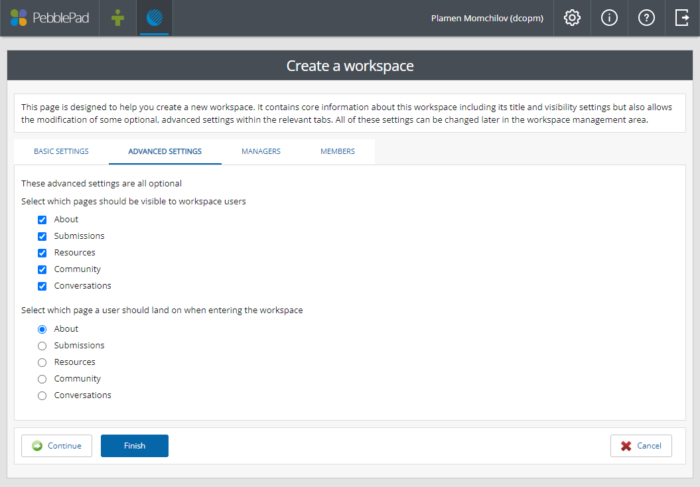
10. In the Advanced Settings tab, you can select which pages to be visible to users and a landing page. It is recommended to keep all pages active for now and, if required, you can change this setting later. Click Save.
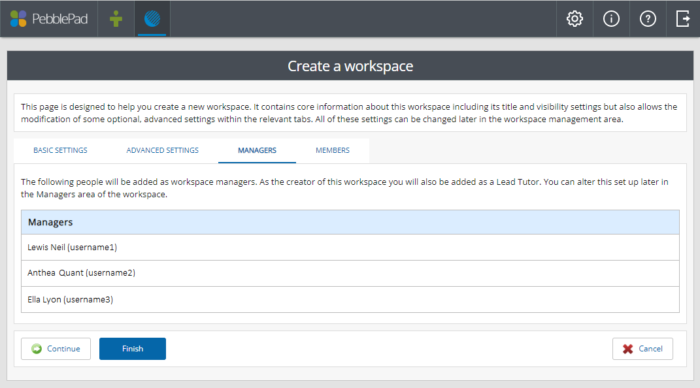
11. The Managers tab shows the staff who will be added from Minerva. Managers is the PebblePad term for staff and Members is the PebblePad term for students. Click Continue.
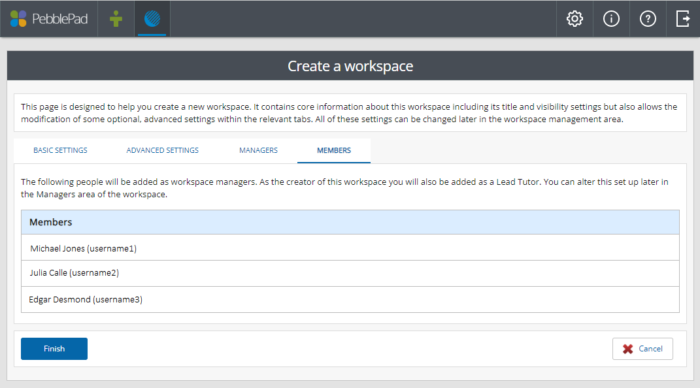
12. The Members tab shows the students who will be added from Minerva. If you notice any that need to be amended, report this to School Support Staff to update the student enrolment from Banner. Click Finish.
To set up a PebblePad assessment for this workspace, follow the Applying Settings, Resources and Assignments guide. Ensure that you are satisfied with these settings before activating your workspace.
If you want to simply create a link to the PebblePad dashboard to encourage your students to work independently with PebblePad, without Tutor input, follow the Embedding PebblePad Links guide.
Creating a workspace directly from PebblePad
1. On the ATLAS dashboard, click the Create a workspace button.

2. Select Create a brand new workspace and click Continue.

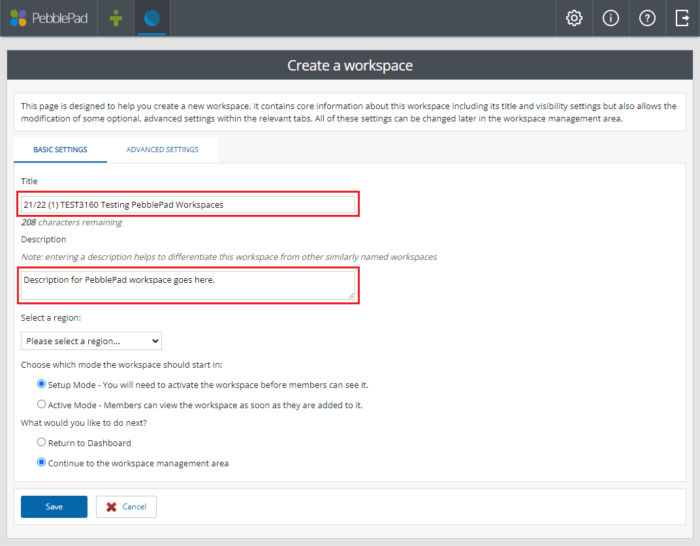
3. In the first tab, Basic Settings, amend the workspace Title and Description. Use the module naming convention: academic year (semester) module code, name and unique reference, e.g. 21/22(1) CHEM1200 Extraordinary Chemistry (32800).
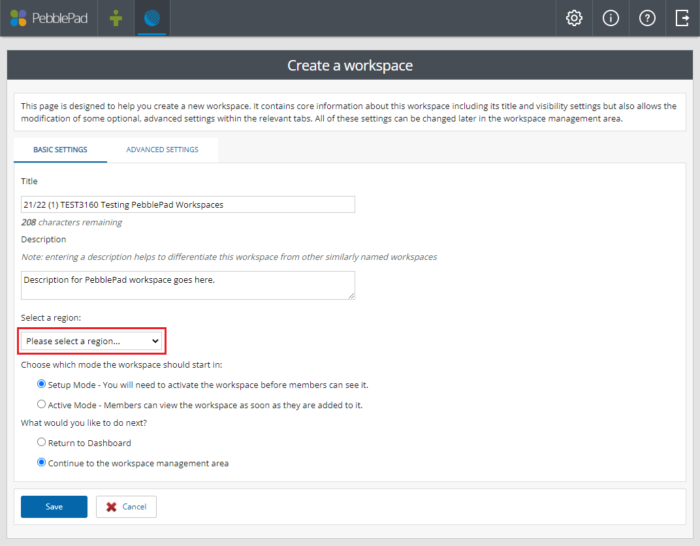
4. If you have Creator permissions in more than one Region, you will also need to choose which one to create this workspace in.
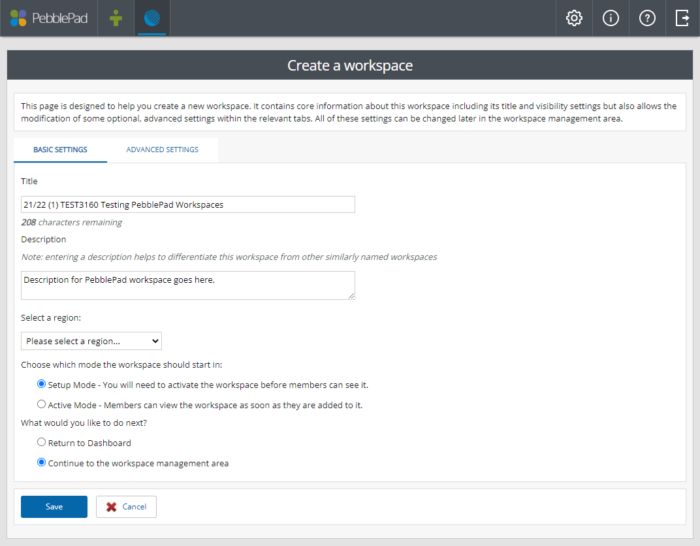
5. The default mode for the workspace is Setup Mode. Keep the Setup Mode and Continue to the workspace management area selections. Click Save.
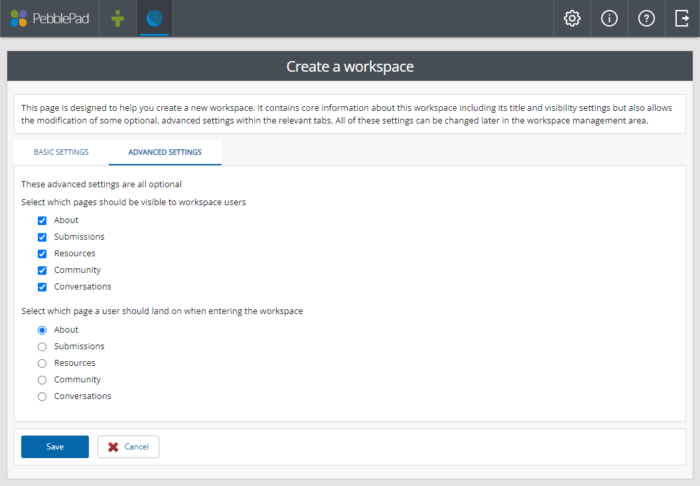
6. In the Advanced Settings tab, you can select which pages to be visible to users and a landing page. It is recommended to keep all pages active for now and, if required, you can change this setting later. Click Save.
To set up a PebblePad assessment for this workspace, follow the Applying Settings, Resources and Assignments guide. Ensure that you are satisfied with these settings before activating your workspace.
