Select Settings, Resources and Assignments for a PebblePad Workspace - Staff Guide
You will need to have created a PebblePad workspace before applying settings, Resources and Assignments. If you have not done this already, follow the creating a PebblePad Workspace guide.
Navigating the Management tab
Once you have created your workspace, you will see six tabs at the top of the page: About, Submissions, Resources, Community, Conversations, Management.

The Management tab includes nine further tabs relevant to the next steps: Settings, About, Assignments, Members, Managers, Externals, Sets, Feedback and Logs.

| Settings | Shows settings seen in the Create a workspace wizard, plus a number of others, which relate to notifications. |
| About | Allows editing content in the About page, which is the first page users see by default when opening the workspace. If you choose to hide any of the pages, i.e. Community or Conversations, remove the boiler plate text on this About page. |
| Assignments | Shows assignment settings and add date and time restrictions relating to them. |
| Members | Shows a list of students in the workspace and allows modifying permissions around what they can see and do in the workspace. If the workspace is synchronised with Minerva, members cannot be manually added or removed. |
| Managers | Shows a list of staff and allows selecting role types and modifying permissions. If the workspace is synchronised with Minerva, check which staff have been added and whether their permission levels are appropriate. Remember to assign Lead Tutor only to staff you are happy to control the workspace and its settings. Lead Tutors are also the only ones with permissions to use the reporting function. |
| Externals | Allows the management of external assessors in the workspace and modifying permissions. All externals added must have a non-UoL email address and personal email addresses are not recommended. |
| Sets | Shows group allocations of members, managers and externals. While in Minerva Original, groups carried over to sets from Minerva to PebblePad. This is no longer the case and sets need to be created directly within PebblePad. You can create sets via the Set Wizard button on this tab and can batch import using a csv file. See the guide on Creating Sets for more information. |
| Feedback | Allows the management of feedback statements and to link feedback templates. |
| Logs | Shows a complete history of workspace transactions, e.g., when a management role was changed or when data was synchronised with Minerva. |
Setting up an Assignment
If you want to set up an Assignment for your Workspace with integrated grades from the Minerva Gradebook, you will need to set up the PebblePad Assignment from your Minerva area.
The assignment could either provide students with a structured resource (a Workbook or Template) that you have previously created with sections for them to fill in. Or it could be an opportunity for students to initiate their own piece of work, without a scaffold. Note the different settings options below for the different types of assignment.
To set up an assignment from Minerva, return to the Minerva module in which you previously created a PebblePad workspace. You will use the PebblePad ATLAS tool again but this time to create an assignment.
1. On the relevant Minerva module, click on the plus sign in the content area and select Content Market.
2. This opens the Content Market. Scroll down to find PebblePad ATLAS and click on the plus sign.
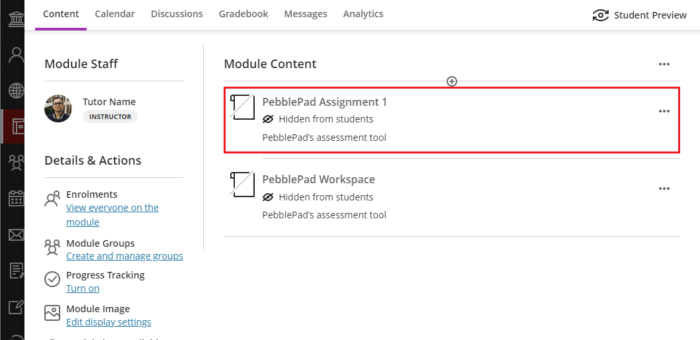
3. The PebblePad ATLAS link will appear on the content area. Click on the ellipsis to the right and select Edit.
4. Rename the assignment, leave hidden from students and check the Create gradebook entry for this item, filling in the due date and time, mark using and maximum points options. Please note that only numerical grades carry over from PebblePad to Minerva. Click Save.
5. You can click the Gradebook tab to see a grade column appears for this assignment. Click on the Content tab to return to the content area.
6. Click on your renamed PebblePad ATLAS link. This redirects you to the Create an Assignment page in the PebblePad workspace.
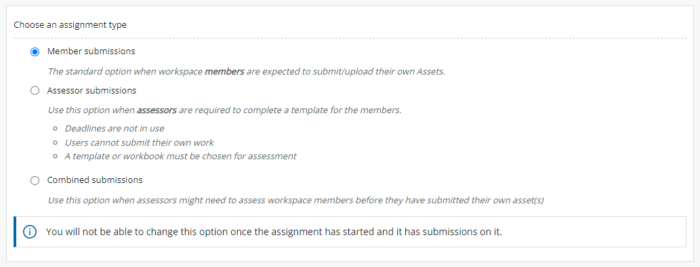
7. Select an assignment type.
- Member submissions is the most common option. It allows students to begin and submit their submission.
- Assessor submissions is useful if assessors would like to record attendance or approve a meeting or activity without the student submitting first.
- Combined submissions is flexible as it allows either the student or the assessor to begin the submission.
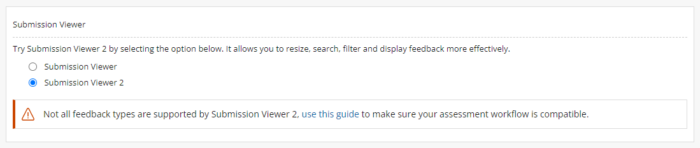
8. Select Submission Viewer. Submission Viewer 2 is an improvement on Submission Viewer 1 and should be chosen for all new assignments as of 29th June 2022. It offers improved functionality, e.g., the ability to scroll through assessments without going in and out of each one.
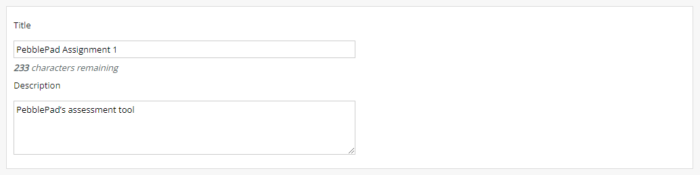
9. The title is automatically populated from Minerva. It is advisable not to change it. You can add a description.
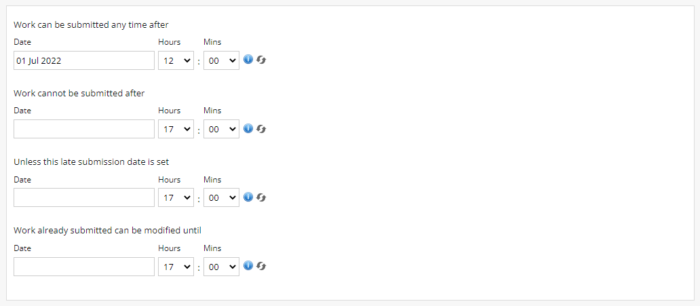
10. You can add date and time restrictions.
11. Select the maximum number of submissions. This is the number of assets a student can submit in this assignment, not the number of times they can submit an asset.
If you have designed a structured Workbook Resource for your students, set the maximum number of submissions to 1. If you have designed a structured Template Resource for your students that they will fill in afresh many times, select unlimited. You will connect the structured Resource with the Assignment in the Applying Resources Settings section below.

12. Select the types of submissions to be accepted. If you have asked your students to initiate their own assets, choose the type of asset you have asked them to create, for example, Reflection. Or, if you have asked them to pick their own asset type, select Accept all types of assets.
If you have designed a structured Resource for your students, untick Allow submissions from Pebble+ because the Resource will be linked to the assignment later in the instructions and allow auto-submit.
13. You can allow the auto submissions of Resources, and direct file uploads, if relevant.
Selecting auto-submit is recommended if you have created a structured resource. It means that students only have to save their work for it to arrive in the submissions area of ATLAS for you to see updates.

If your students are initiating their own piece of work, they will need to manually submit this. See instructions for students on auto and manual submission.
14. Select Prevent users from removing their submissions as otherwise students can remove a submission from the Submissions page in ATLAS. Click Save.

For further information on assignments, e.g., pausing and playing assignments, setting up extensions, follow the PebblePad Assignments guide.
Applying Resource Settings
If you have designed a structured Resource (either a Workbook or Template) for an assignment, you will now need to connect this Resource to the Assignment.
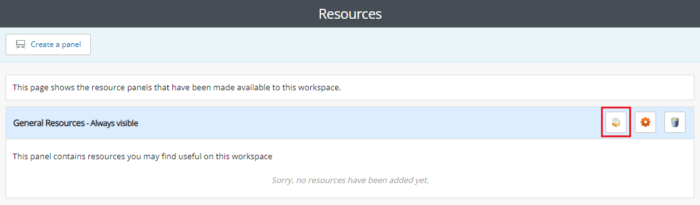
Resources are set up using panels that enable you to plan the delivery of work to your students. You will see a default panel for General Resources – Always Visible. Any content you want your students to see from day one and permanently can go in here.
1. To add a Resource, click on the Add a Resource button within a panel.
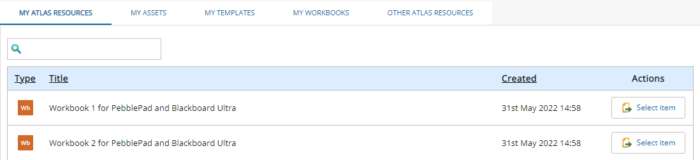
2. Resources you have created or are able to share appear in separate tabs, e.g., My Templates, My Workbooks. Click Select item next to the Resource you want to use.
3. Select the way to refer to the Resource. It is advisable to use its existing title and description.

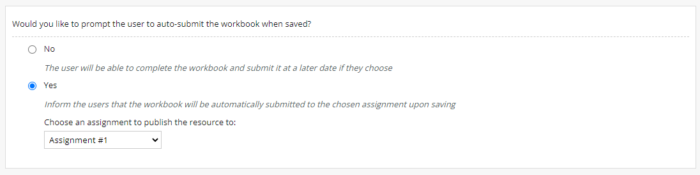
4. Choose whether you would like to prompt the user to auto-submit when saved.
Auto-submission is advised so click Yes and Select the Assignment you set up earlier from the dropdown.
5. Check to confirm you have read the information. Click Continue.

Tidying up the list of Assignments
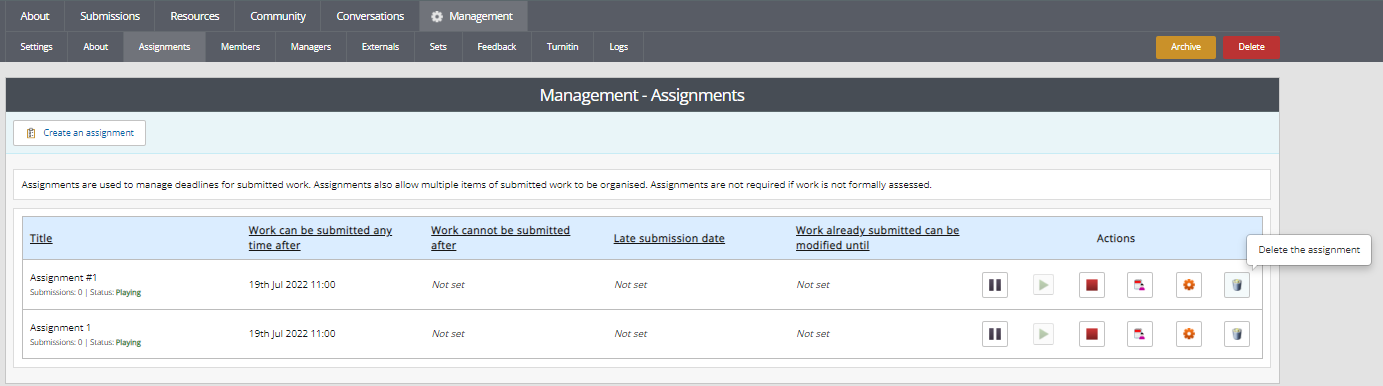
PebblePad will always create a default assignment named Assignment #1. This will not be connected to Minerva and no grades from this will pass back to the Minerva Gradebook. If you are not using this default assignment, it is best to delete it so that it does not cause confusion to students when they are submitting their work. Go to the Assignments tab in your workspace and click on the bin icon next to the Assignment #1 listing to delete this assignment.
Setting up Additional Assignments
If you want to set up additional graded assignments, return to the Minerva module and repeat the steps above for creating an assignment, using the PebblePad ATLAS tool in the Content Market.
Activating your Workspace
When you are happy with the configuration of your workspace, you need to activate it to make Resources available to students. Make sure you activate the workspace before you make any related Resources available to your students.
You can still make the following changes to your workspace after activating it:
- Add tutors and externals
- Add additional Resources
- Make some changes to a Resource provided students have not started working on that part of it, i.e., adding additional pages
- Add a deadline for an assignment
- Add a block on a live page but never delete any pages or blocks or reorder pages once released
- Activate TurnItIn
To active your workspace, in the Management page, click the Activate button in the top right corner.

How do my students access PebblePad Assignments?
It is advisable to keep ATLAS links hidden from students because they serve an administrative purpose for you as a tutor. It is more useful for students to have visible links to either PebblePad Resources or the Pebble+ Dashboard. To find out how, follow the Embedding PebblePad links in Minerva guide.